
Read the grouping before you load the machine
A needle grouping is the way individual needles are arranged at the tip. Tight groupings place needles close together for controlled marks, while wider groupings move more material and cover a larger area. The first step is to match the grouping to the job, then check taper, gauge and the way the tip sits in the grip or cartridge housing.
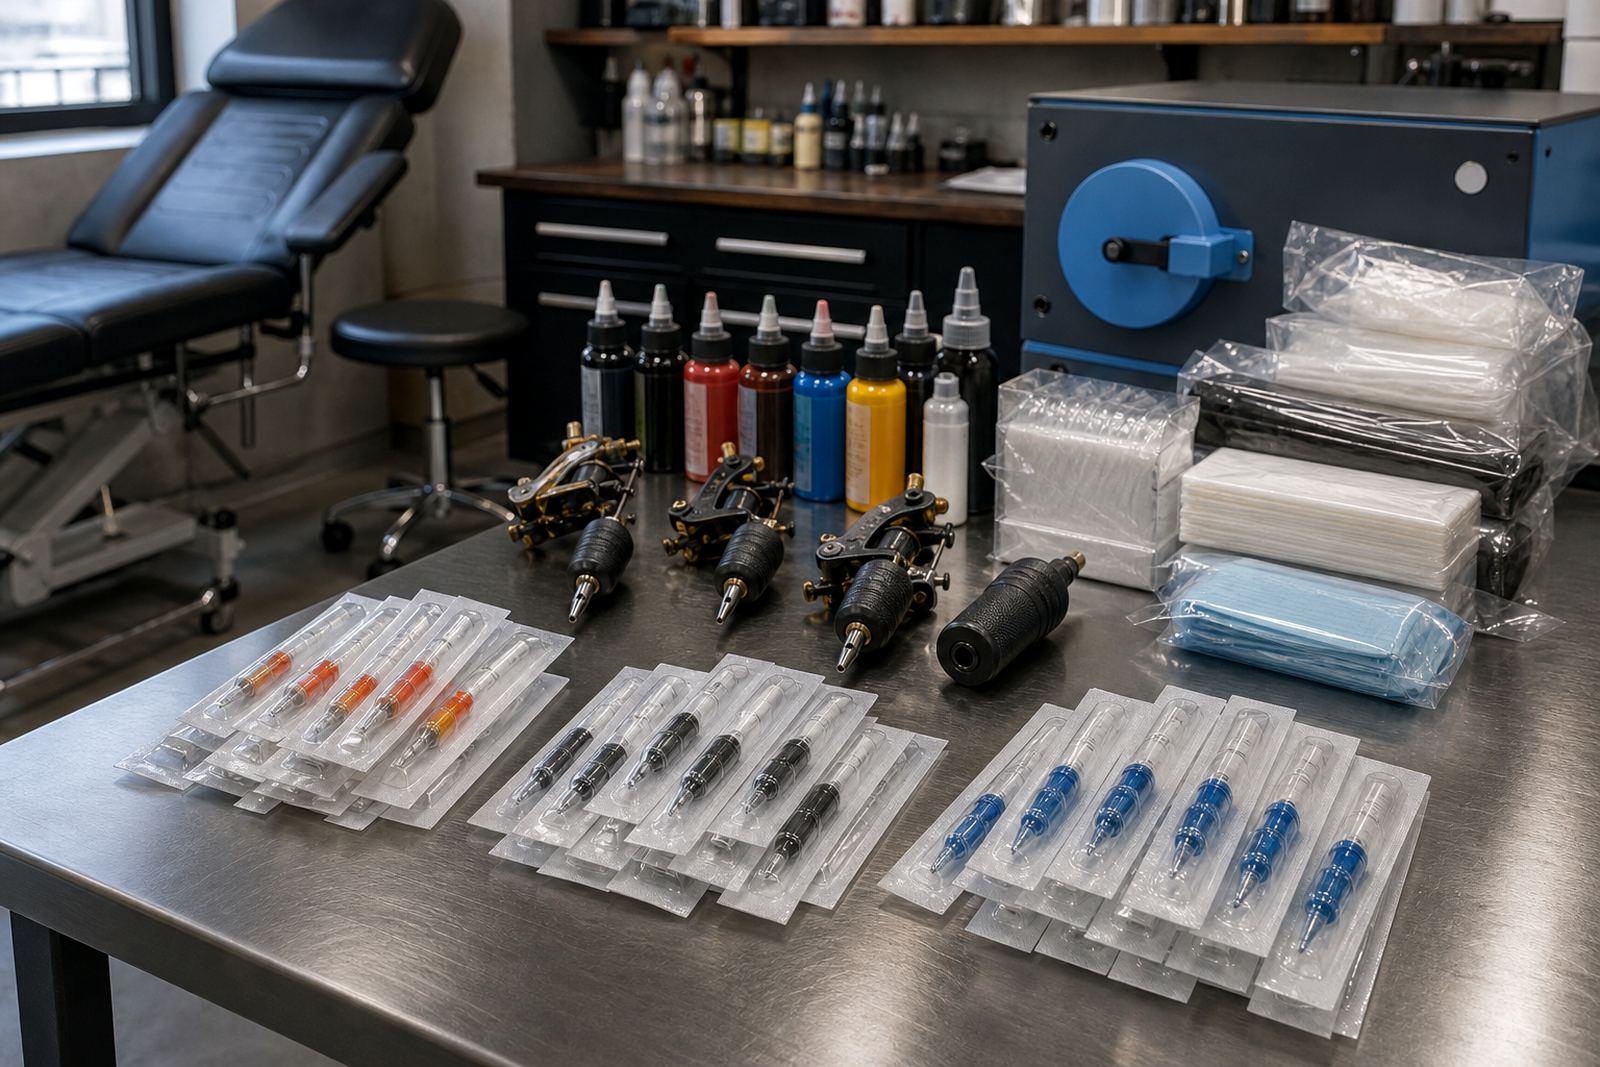
For a busy studio in Observatory, or a delivery heading to Cape Town, Johannesburg, Durban, Pretoria or Gqeberha, it helps to keep groupings sorted in clear packs and stored dry. Coastal humidity can affect packaging and workstation order, so sealed storage and clean handling go a long way.
- Check grouping size before opening the pack
- Keep liner, shader and magnum stock separated
- Store in a cool, dry cupboard or drawer
- Match the grouping to line size, shading area and needle depth
Liner groupings for crisp edges and controlled work
Liner groupings are built for lines, script, fine outlines and detail where the artist wants a narrow, concentrated point of contact. Round liners keep the needles grouped in a circular tip, which helps with control on smaller line work. The tighter the grouping, the more focused the line can be, though the hand speed and machine setting still matter.
In practice, a liner is the grouping you reach for when you need sharper definition and a cleaner edge. It is common to keep a few liner sizes in stock for different line weights, from delicate detail to stronger outlines on larger pieces. For studio planning, pair liner stock with spare grips, tubes or cartridge housings and keep a separate tray for sterile single-use items.
- Use for outlines, lettering, small details and fine corrections
- Keep grouped by size and taper so the right pack is easy to find
- Use fresh sterile single-use packs and follow local health regulations
Shader groupings for softer fills and blended areas
Shader groupings are used where the work needs softer delivery and broader coverage than a liner. Round shaders can work for small fill areas and blending, while flat or curved shader groupings suit larger sections where a softer edge is useful. The spacing and shape of the grouping affect how pigment moves, so the choice depends on the style and the size of the area.
Shader groupings are often kept for mid sized fills, soft transitions and packing around detail without the harsher edge of a liner. In a studio supply list, it helps to keep shaders near compatible machines and cartridges, plus cleaning items and protective covers. That keeps the station tidy and reduces time wasted looking through mixed packs between clients.
- Use for shading, soft fill work and blended transitions
- Check grouping shape against the kind of finish needed
- Keep station hygiene items within reach and replace single-use items after each client
Magnum groupings when you need wider coverage
Magnum groupings are arranged in two rows or a wider spread, which makes them useful for large areas, shading fields and colour packing. They move more pigment across the skin in fewer passes, which can help with efficiency on bigger designs. For artists working on full limbs, background fill or larger colour areas, magnums are a practical part of the kit.
There are straight magnums and curved magnums, with each shape giving a slightly different feel at the edge of the stroke. Curved magnums can be easier for softer movement on rounded areas, while straight magnums may suit firmer packing on flatter sections. Keep both types sorted if your studio handles a range of styles and body placements.
- Best for large fills, colour packing and broader shading
- Keep separate from liner stock to avoid mix ups at the station
- Use clean, sealed storage so packs stay organised in humid weather
Needle or cartridge: match the grouping to the setup
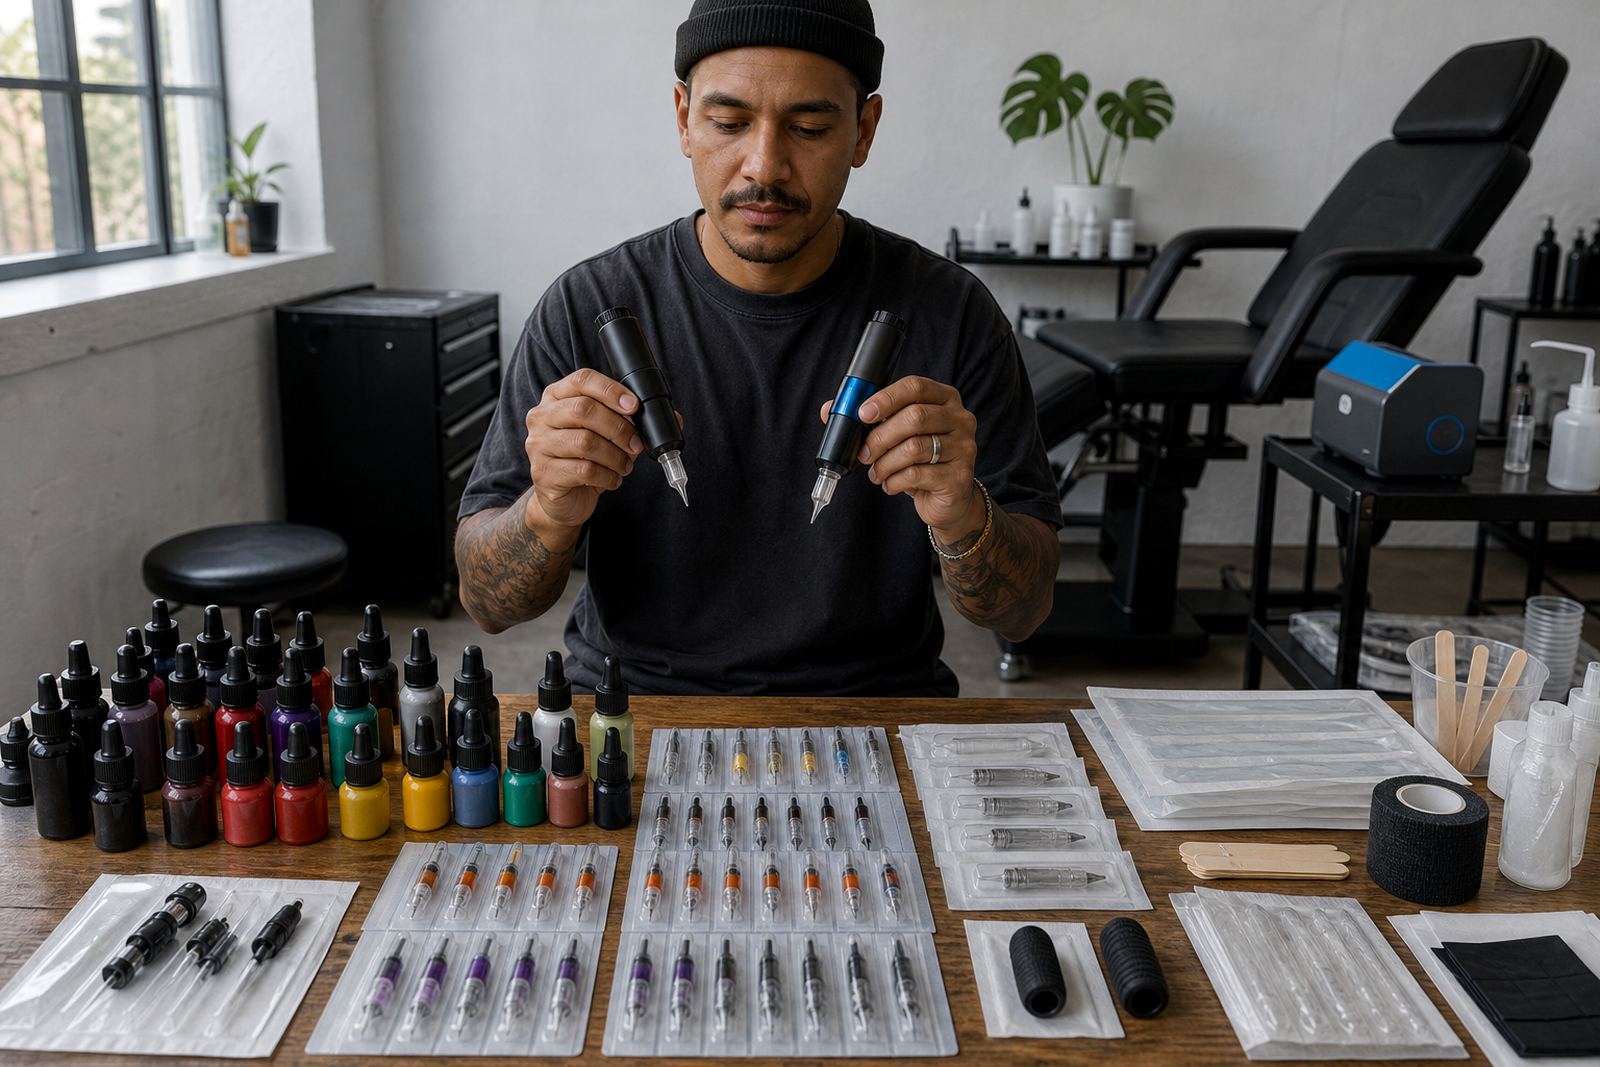
Some artists prefer traditional needle and tube setups, while others work with cartridge systems. The grouping still matters either way. What changes is how the needles sit in the housing and how quickly they can be swapped between jobs. Cartridge groupings are often chosen for fast changes between line work, shading and magnum coverage, especially in studios with a full daily schedule.
When choosing stock, look at compatibility first. A good match between machine, grip or tube, and the grouping helps keep the workflow steady. If the studio is planning a new set of consumables, it is worth mapping the most used needle groupings against the most common styles offered in the room.
- Confirm compatibility with the machine and grip or cartridge housing
- Keep the most used groupings in larger quantities
- Set up separate storage for liners, shaders and magnums
A practical checklist for stock and station planning
Good studio stock is not only about having enough boxes on the shelf. It is about knowing which groupings move fastest, what gets used in the same session, and which items should be stored together. For salons and studios in South Africa, especially those moving stock between branches or delivery zones, clear grouping labels save time and reduce waste.
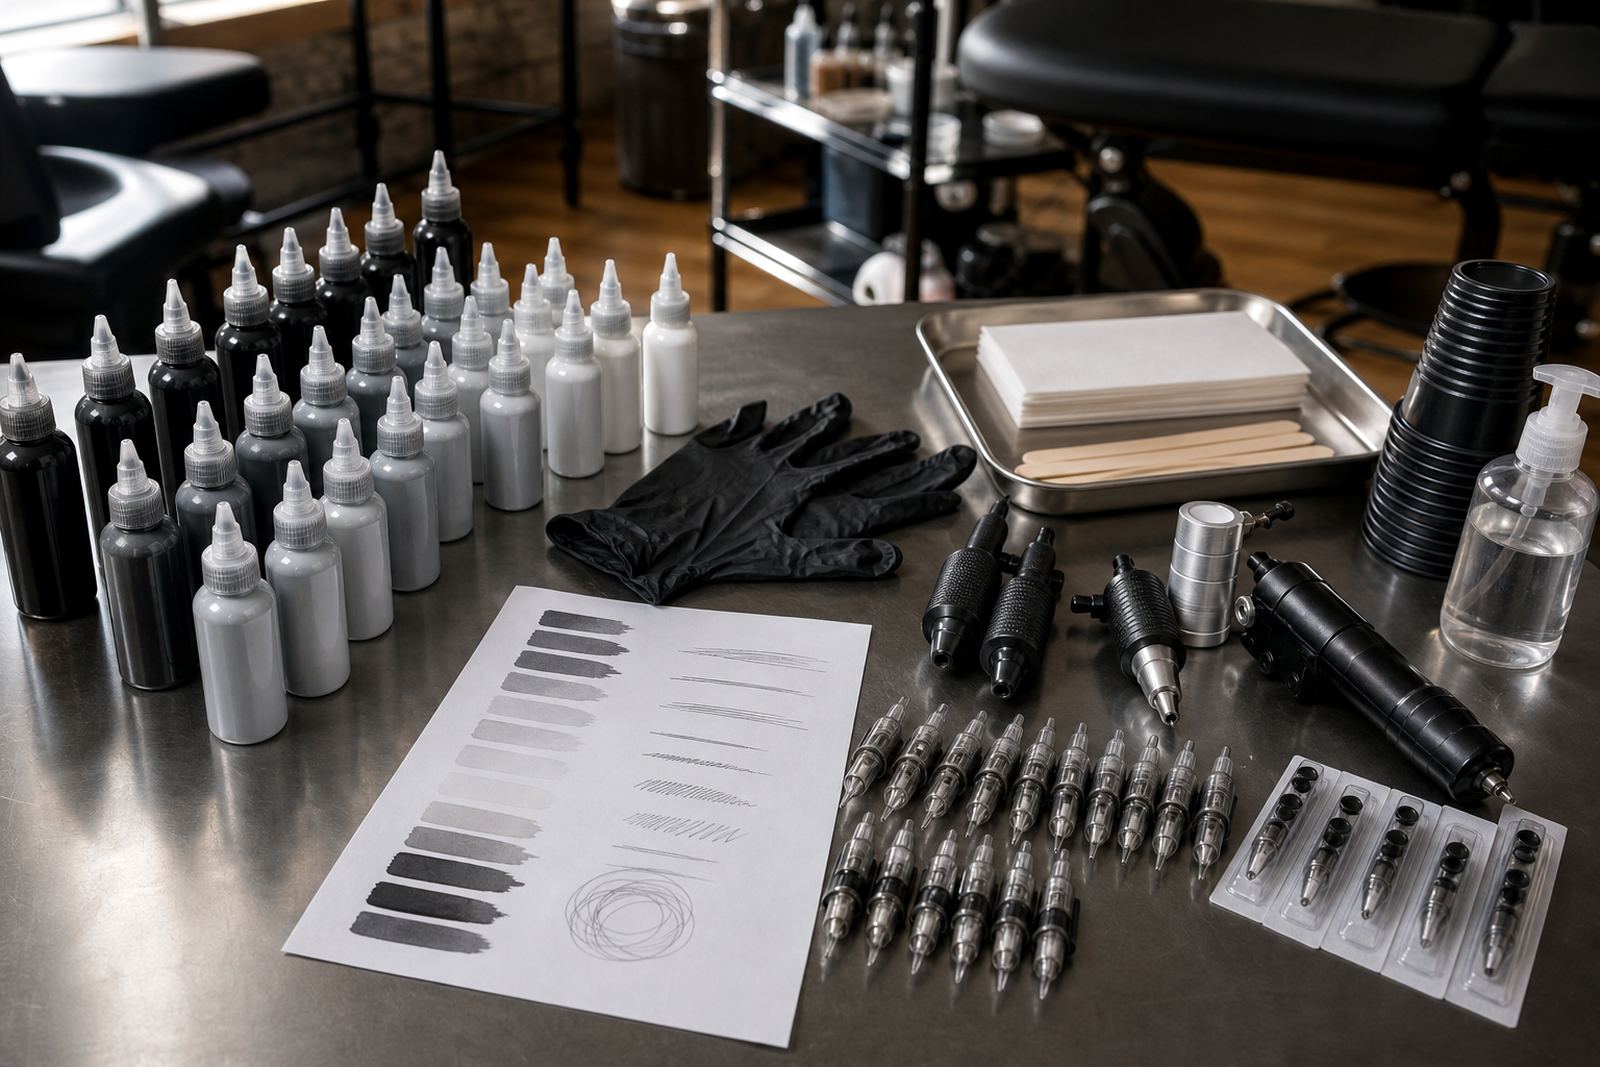
Before a restock, count what is left, note the usual mix of liner, shader and magnum groupings, then check sterile single-use items, machine covers, clip cord covers where relevant, and surface protection. If the shop handles large bookings or seasonal peaks, a simple reorder list for each grouping helps keep the station ready.
- Count by grouping, not just by box total
- Keep a separate list for fast moving sizes
- Check seals, expiry dates and packaging condition before shelving
- Plan storage by category: liners, shaders, magnums and consumables
Delivery and support for South African studios
InkX Tattoo supplies tattoo inks, needles, cartridges and studio supplies online with delivery to studios across South Africa, including Cape Town, Johannesburg, Durban, Pretoria and Gqeberha. We also support stock list help, range grouping advice, station planning, consumable reorders, bulk order support, new studio kits, machine match help, cartridge match help, storage planning, dispatch updates, product substitutions and seasonal restock plans.
Clients contact InkX Tattoo through the enquiry form on our contact page. If you are setting up a fresh station or working through a mixed needle range, it helps to list your preferred liner, shader and magnum groupings before placing the order so the pack sizes suit the sessions you do most often.