
Lead With The Task You Want The Machine To Handle
Before comparing coil machines, decide what kind of work sits on your chair most often. A lining setup usually feels different from a shading setup, and a machine that behaves well on tight black work may feel too quick or too soft for slow colour packing. If your station handles mixed styles, it helps to choose a machine that can be tuned predictably rather than one that feels impressive in the hand but difficult to settle.
Look at the common work you do each week. Fine script, bold outlines, softer grey wash, and long sessions on larger pieces all place different demands on the machine and on the artist. A clear idea of your use case makes the rest of the comparison much easier.
- Work type: lining, shading, colour packing or mixed use
- Hand feel: light, balanced or heavier frame feel
- Session length: short walk-in work or full day appointments
- Ink flow preference: quick strike or smoother slower movement
Frame, Coils And Springs: The Parts That Change The Feel
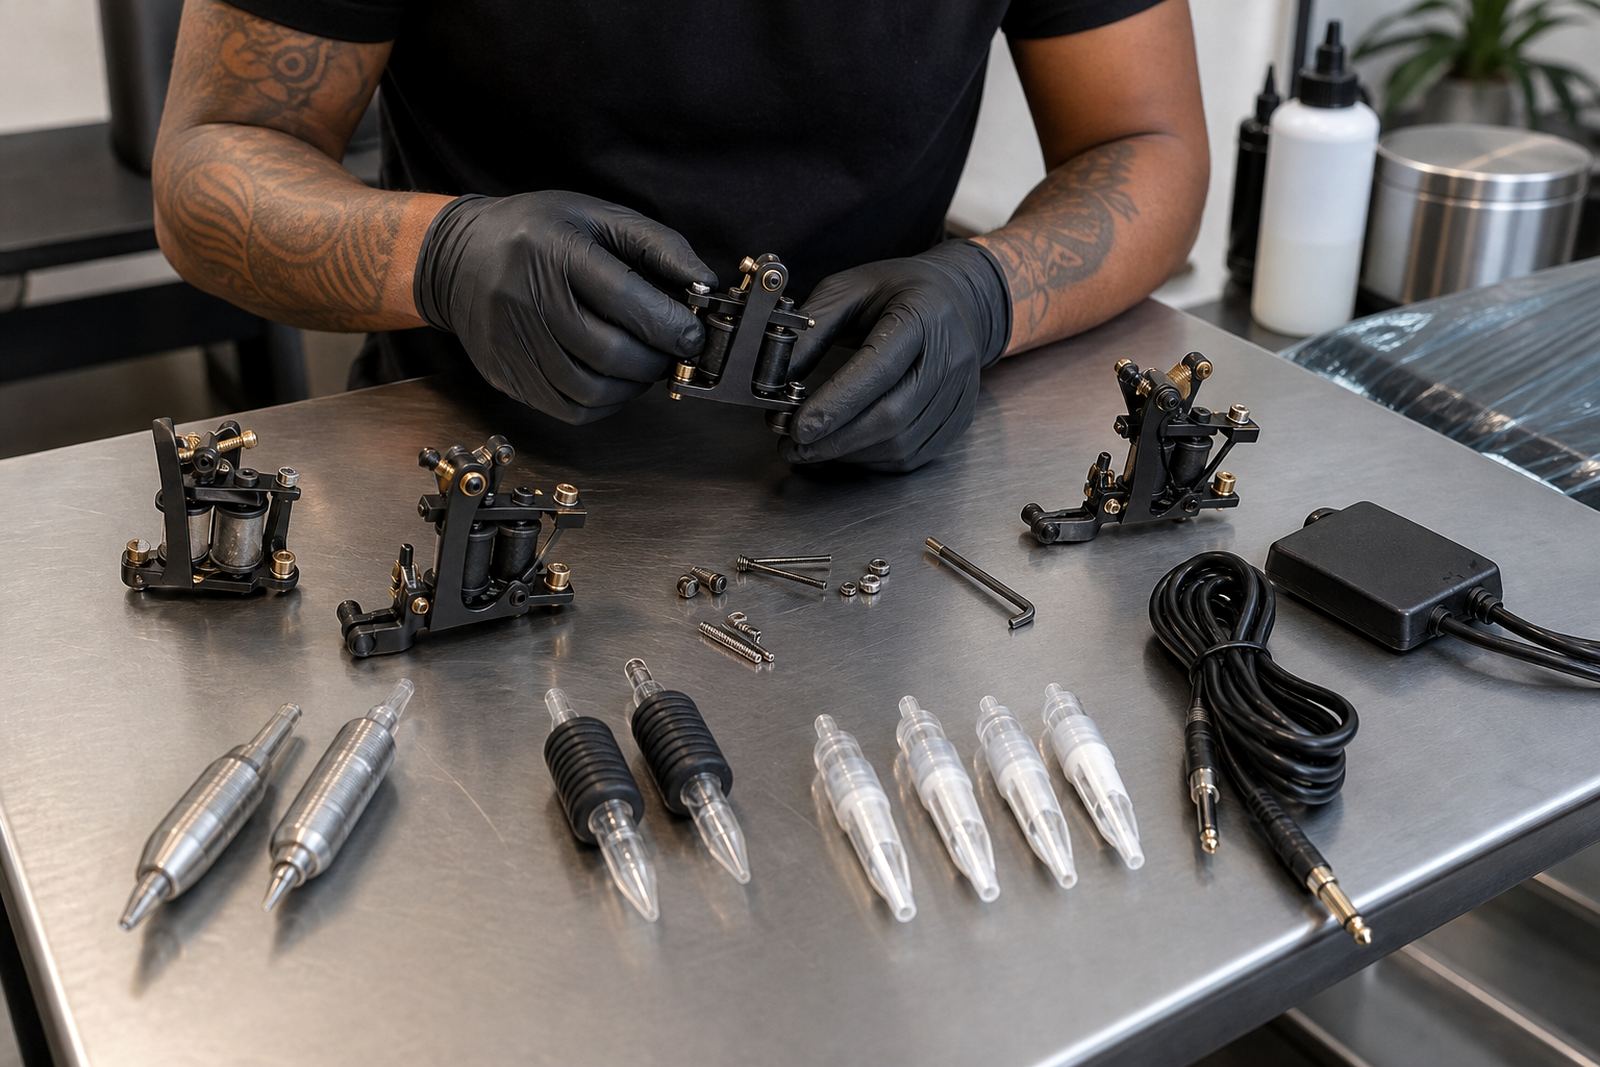
The frame is the backbone of the machine and its material and shape influence balance. Some artists prefer a compact frame for close control while others want a slightly larger body that settles into the hand. Coil size, spring tension and contact points all affect the way the machine hits, which is why two machines with the same general look can feel quite different once set up.
Spring thickness and length matter because they influence bounce and recovery. Contact screw position, armature bar weight and rear spring choice can alter speed and response. Small changes here make a noticeable difference, so it is worth learning one adjustment at a time instead of changing everything at once. On a busy studio floor, that makes troubleshooting far easier.
- Check frame balance in the hand before fitting a needle bar
- Compare coil windings for consistency and finish
- Inspect springs for even alignment and clean edges
- Look for contact points that allow steady tuning
Needles, Tubes And Cartridge Groupings
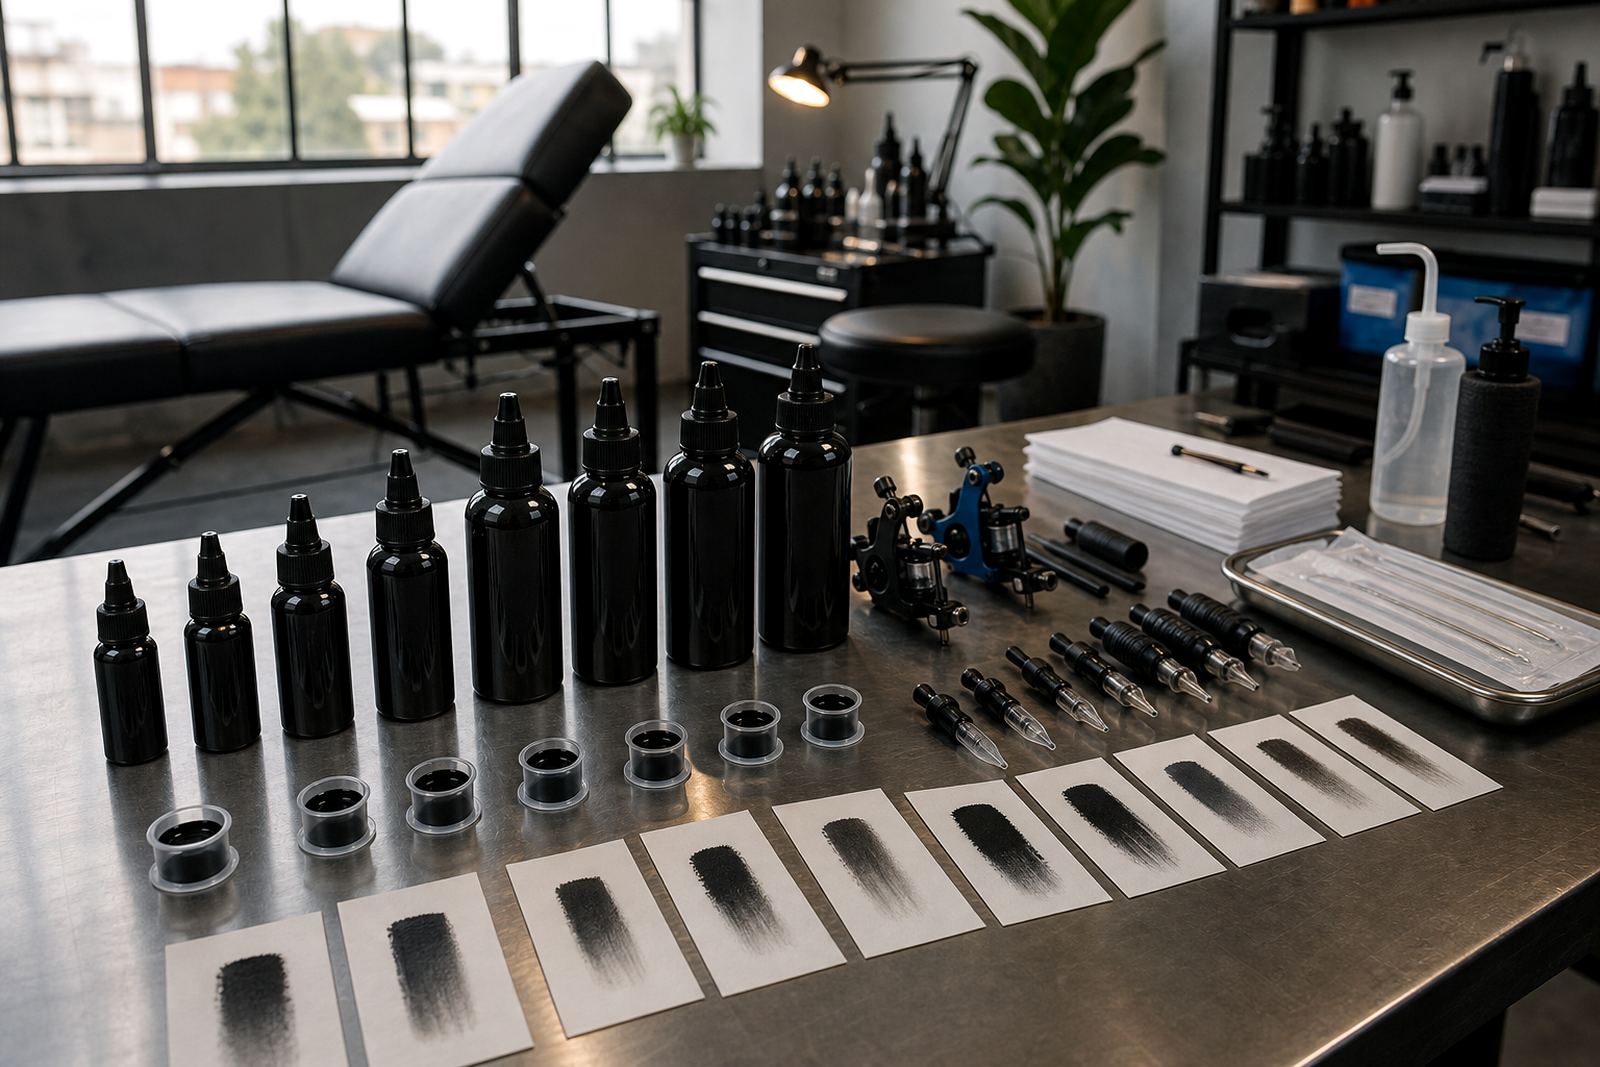
Even with traditional coil machines, the needle grouping you choose shapes the final result. Liners, shaders and magnum groupings all behave differently, and the same machine may need a different tuning approach for each. If you move between round liners and larger shader groupings during the day, keep your setup notes close so you can match the machine to the grouping rather than forcing one setting for every task.
Tube choice also matters because the grip, visibility and balance at the front end change how the machine sits in the hand. Reusable or single-use options should always be matched to your studio process and local health regulations, with sterile single-use consumables handled carefully from opening to disposal. Cartridge systems may be used in some studios, but if you are comparing them against tube and needle setups, keep the discussion on control, fit and your preferred working method.
- Match liners to line weight and detail size
- Match shaders to packing speed and softness
- Check that the tube or grip feels secure during movement
- Keep sterile single-use items sealed until needed
Power, Clip Cord And Foot Pedal Checks
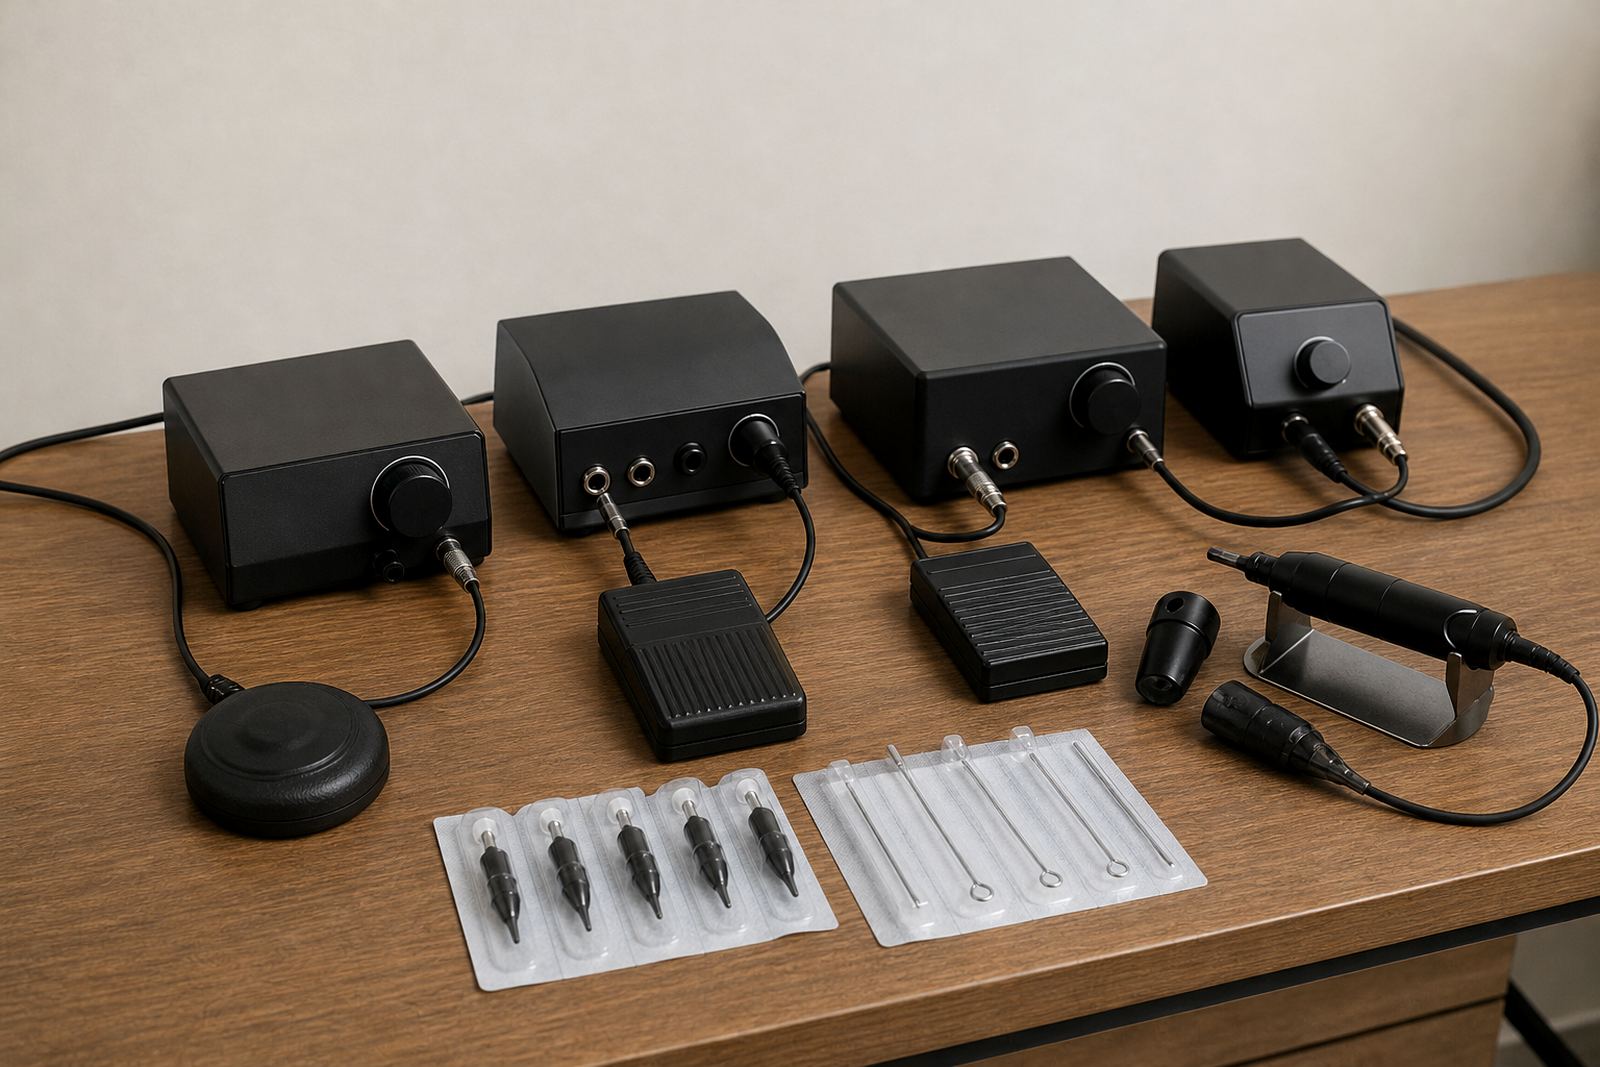
Coil machines rely on a stable electrical setup, so the power supply, clip cord and foot pedal all deserve attention. A weak cord, loose clip or inconsistent pedal can make a good machine feel unreliable. In studios where mains power is interrupted, a proper power supply setup and sensible station planning help keep the machine behaving the same way from one session to the next.
Check the points that matter most before you put the machine on a station. The contacts should be clean, the pedal should respond smoothly, and the machine should start and stop without hesitation. If the stroke feels uneven or the speed drifts, look at the power path first before changing the machine itself.
- Inspect clip cord ends for wear and secure fit
- Test the foot pedal for steady response
- Keep the power supply position easy to reach
- Watch for heat build up during longer sessions
Sterile Supplies And Clean Station Habits
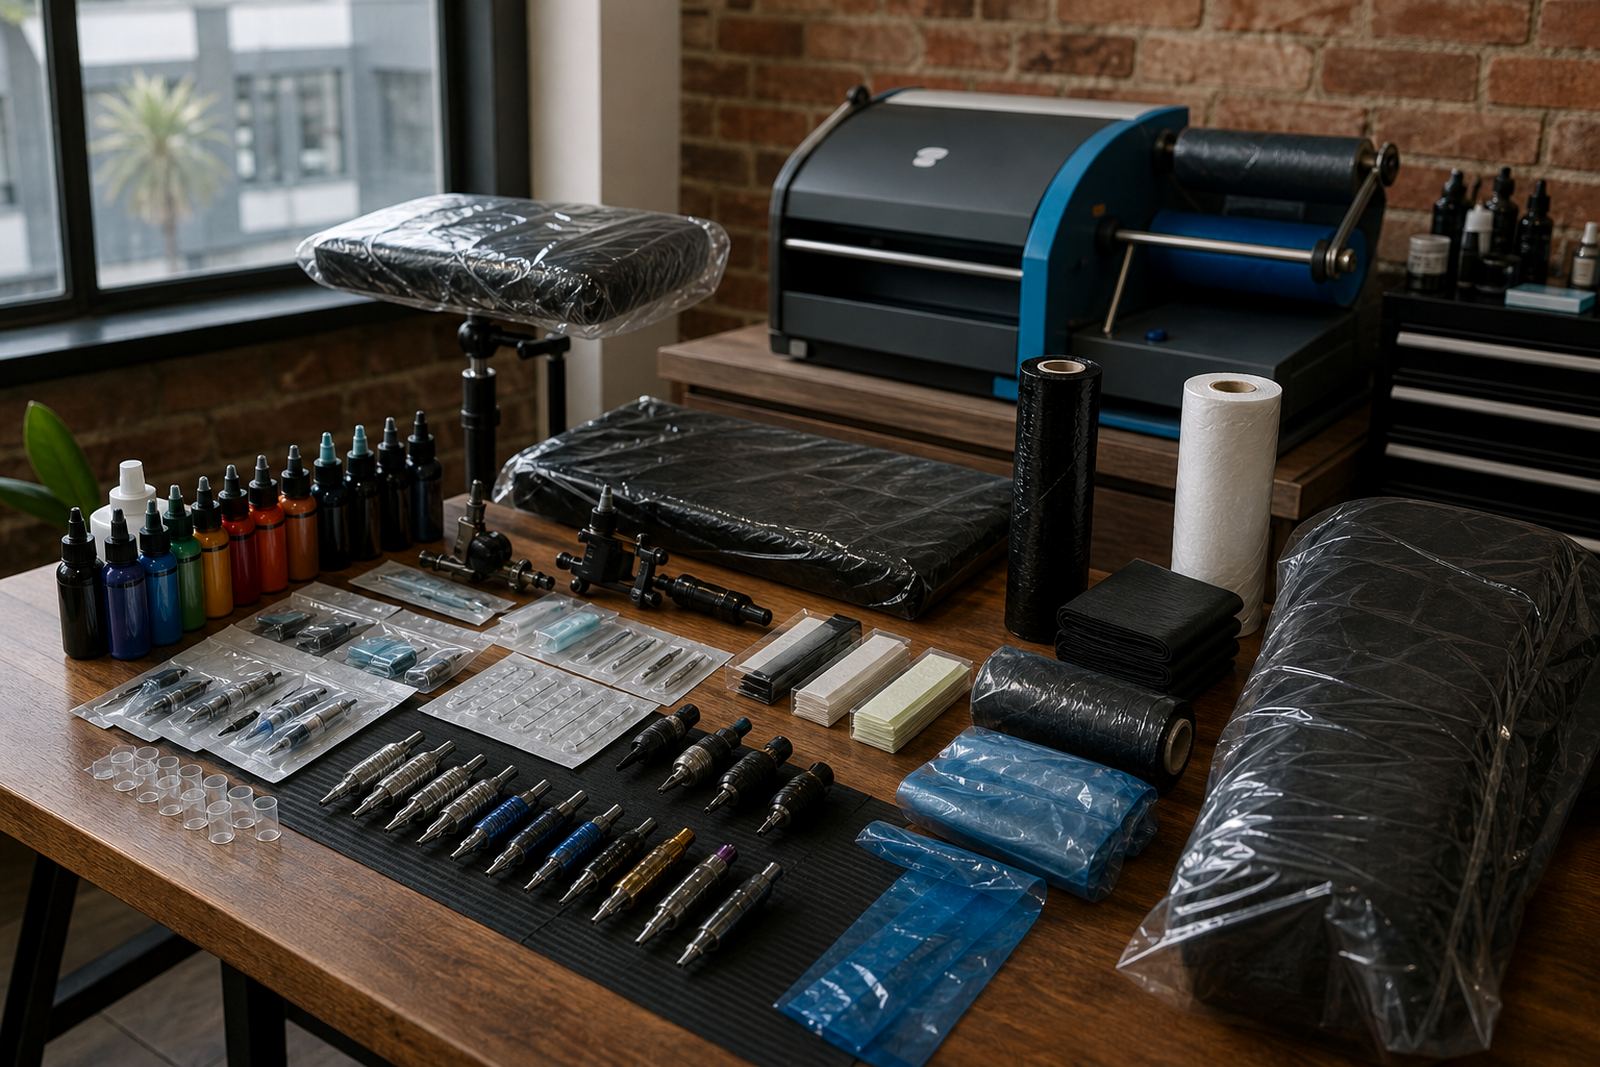
A coil machine only works as part of a clean station. Single-use needles, grips and other sterile supplies should be grouped in a way that suits your workflow so you are not reaching across the station unnecessarily. Storage matters too: keep consumables in dry, organised conditions away from dust, moisture and crowded shelves, especially in coastal areas where humidity can affect packaging and metal fittings.
Hygiene at the station is not only about what touches the skin. It also includes how you store, open and dispose of items, plus how you manage bench surfaces, trays and wrapped equipment. Follow local health regulations and set your studio sequence so clean and used items never get mixed. That habit saves time and keeps the station easier to manage during a full day of appointments.
- Store sterile items in sealed, dry packaging
- Separate clean stock from opened or used items
- Keep wipes, barriers and disposables close to hand
- Use labelled storage for different needle and tube groupings
How To Compare Machines Before You Place An Order
A useful comparison starts with the parts that affect your work most: frame weight, spring response, coil finish, contact stability and how the machine pairs with your usual needle groupings. If you already know which styles fill your diary, compare the machines against those tasks rather than against a general idea of quality. The right choice is often the one that tunes easily and stays predictable over time.
When planning stock for a new studio or restock, it also helps to think about storage and reorders. Machines are only one part of the station, so group them with the needles, cartridges, power items and sterile consumables that support your daily work. Stock List Help, Range Grouping Advice and Machine Match Help are useful when you are narrowing down the options and want a clearer split between lining, shading and mixed use setups.
- List your main tattoo styles and the needle groupings used most often
- Check which accessories are needed for each machine setup
- Plan storage for sealed stock, open stock and used disposables
- Build a repeat order list for the items that move fastest
A Practical Setup Checklist For Studio Use
Before a machine goes into regular use, run through a short checklist so the setup matches your working method. This does not need to be complicated. The goal is to avoid wasted time at the station and to make sure each machine is paired with the right parts, especially when several artists share the same storage area or supply room.
If you work across several towns or delivery points, keep the same naming system for stock groups and accessories so reordering stays tidy. That is especially useful for studios managing regular deliveries to Cape Town, Johannesburg, Durban, Pretoria, Gqeberha and surrounding areas such as Stellenbosch, Bellville and Somerset West.
- Machine tuned for the chosen task
- Needle grouping matched to the style of work
- Power path checked from supply to pedal
- Sterile supplies stored and opened in order
- Station cleaned and ready for the next client