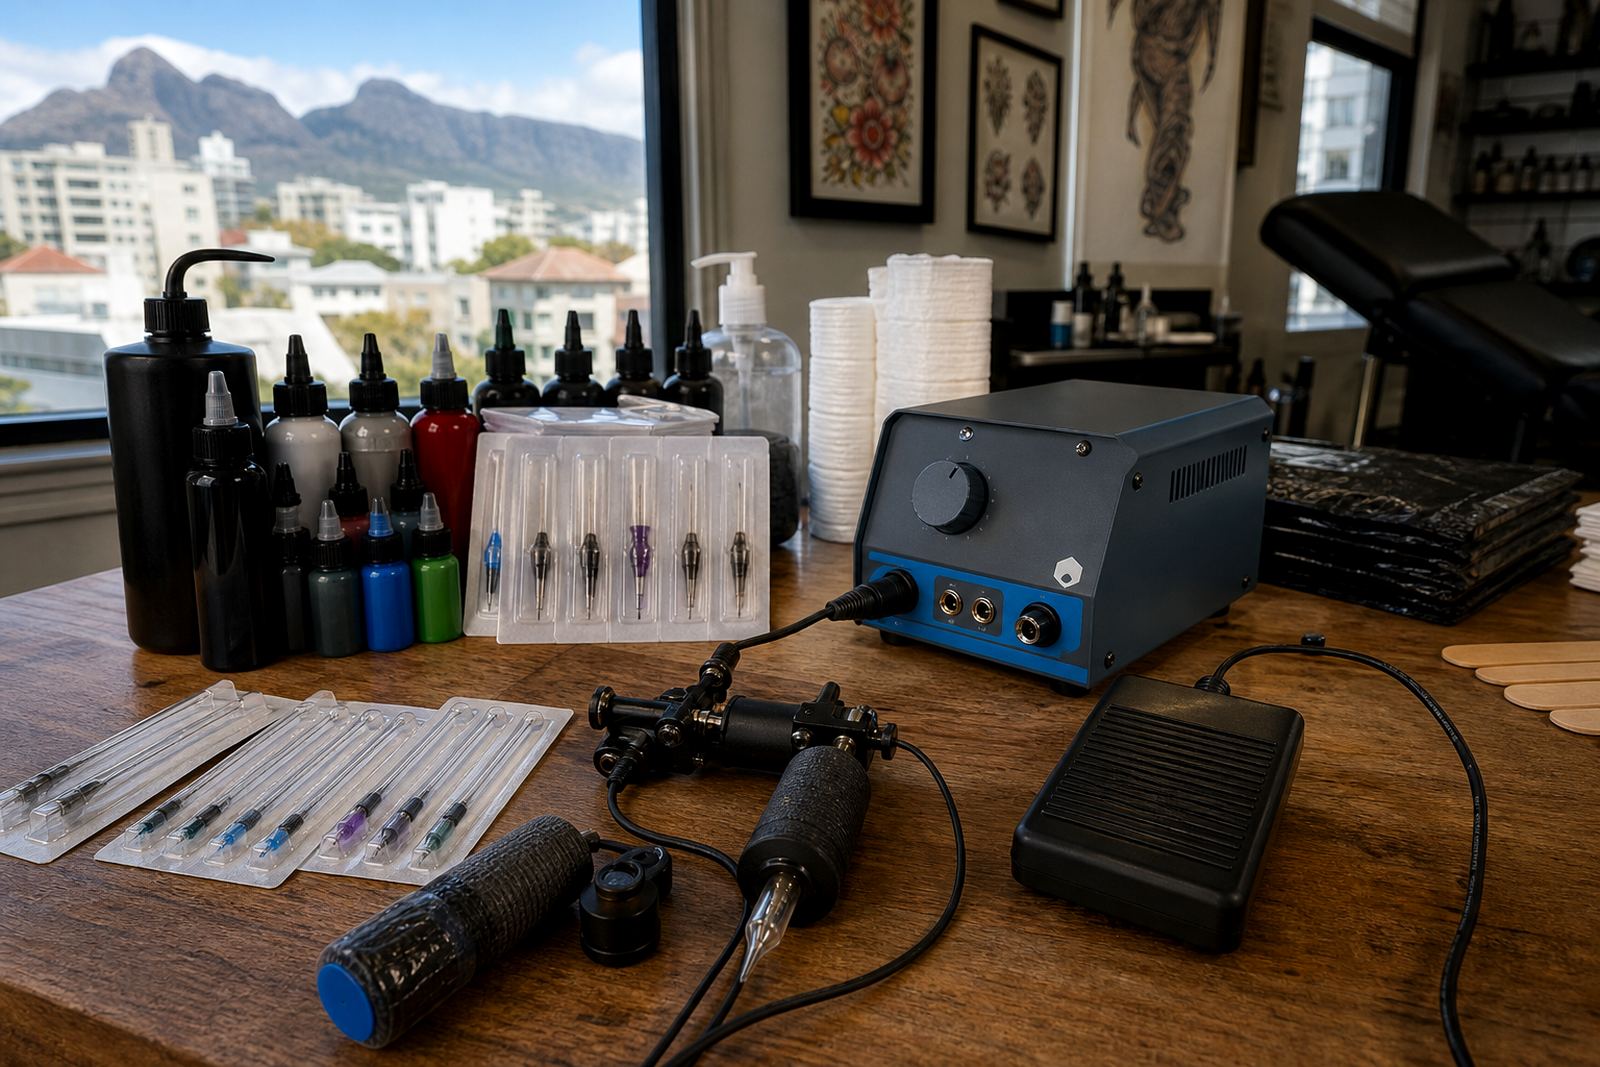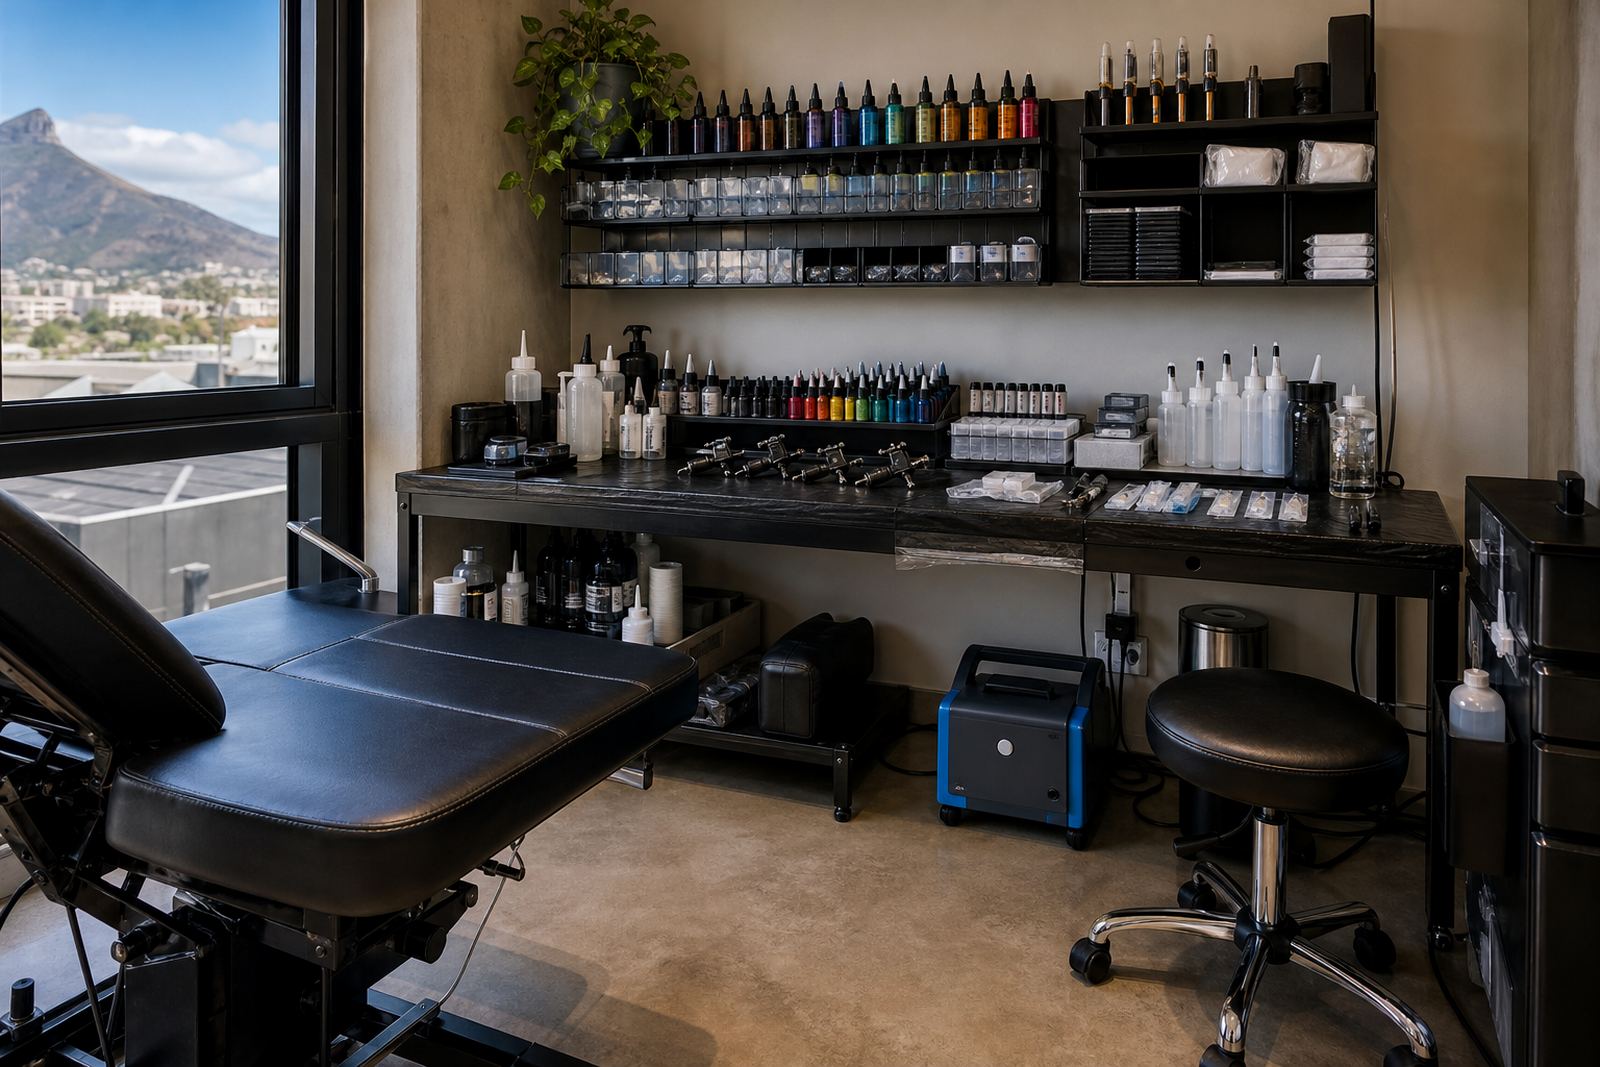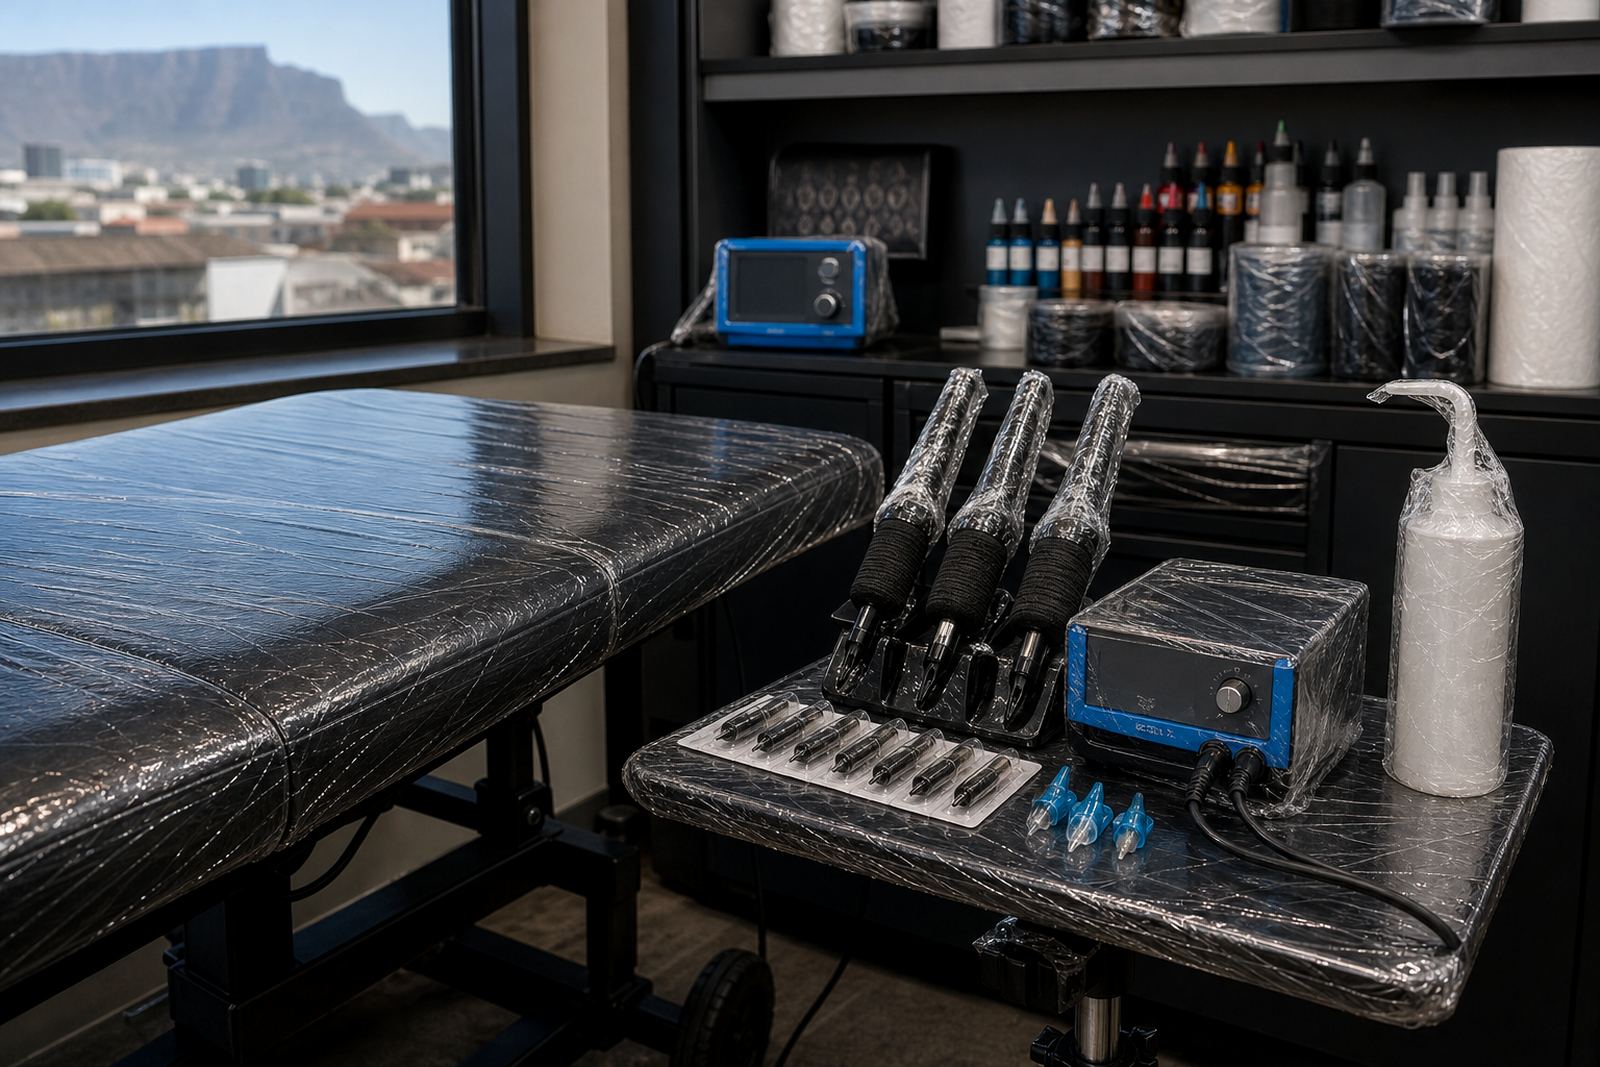

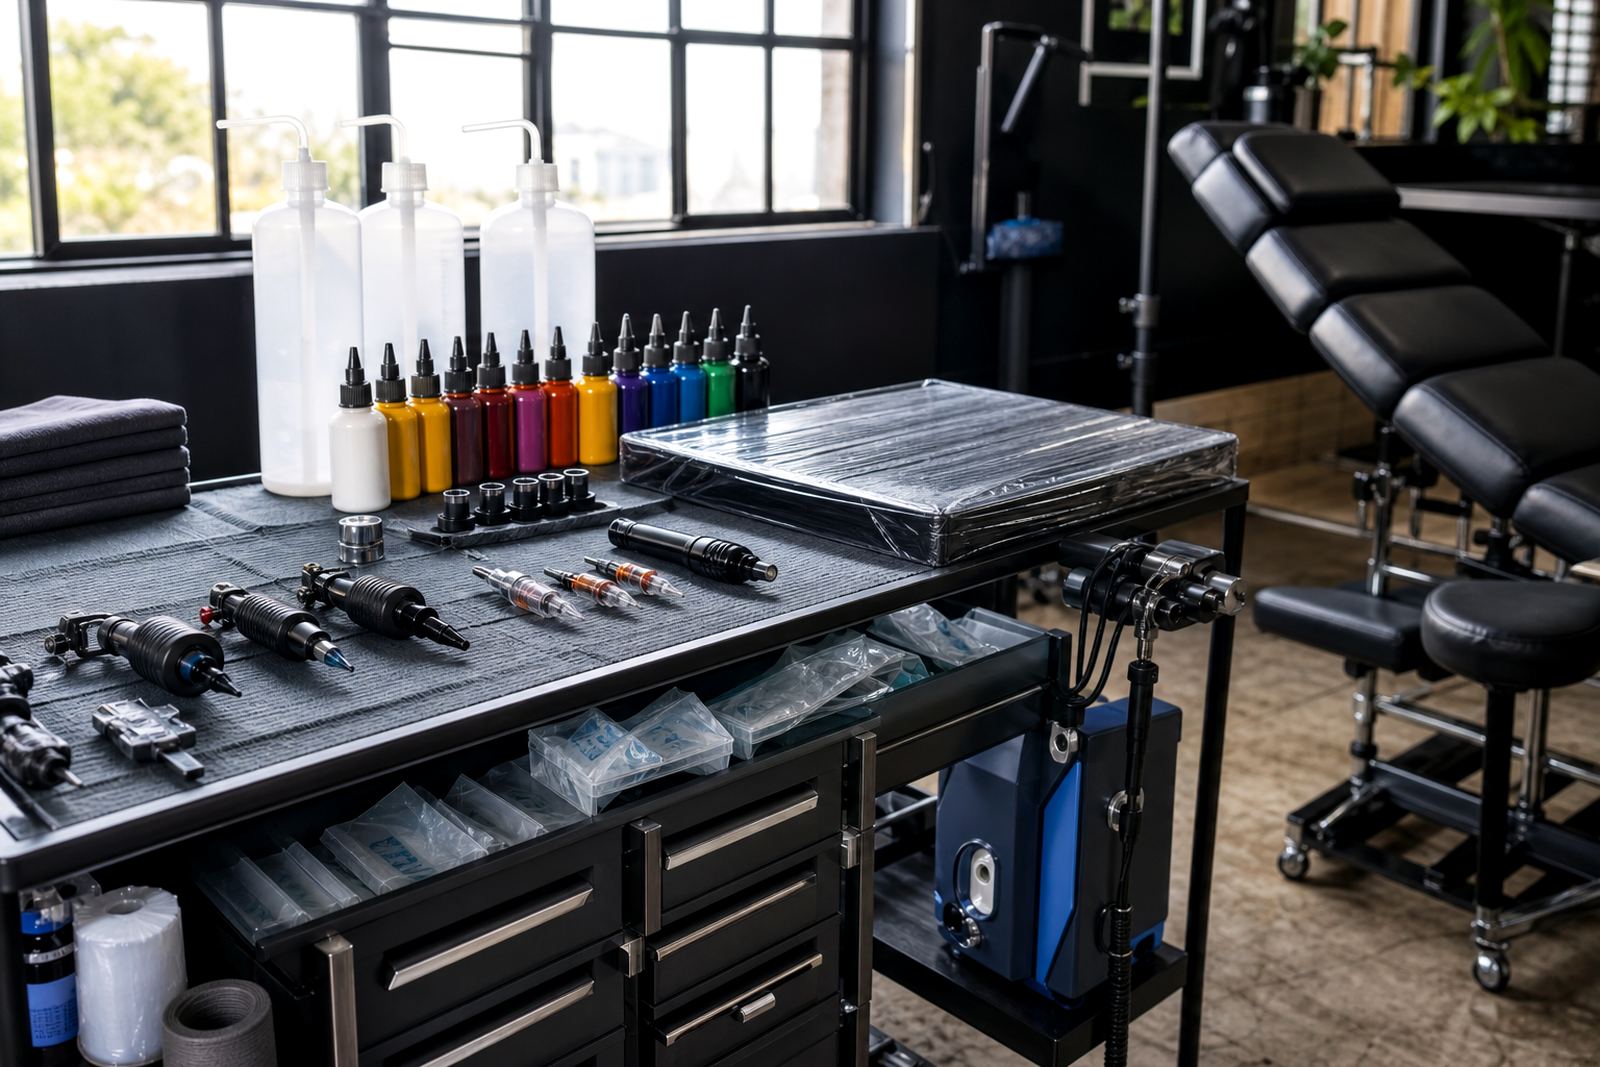
Give each bottle a fixed place on the station
Wash bottles do their best work when they live in a fixed zone, not scattered across the tray or pushed near the machine grip. A station that uses the same bottle positions every shift is easier to wipe down, easier to restock and less likely to get crossed up during a busy day.
Start by separating the station into three small areas: wash, wipe and waste. The wash zone should hold the rinse bottles only, with enough space between each one so gloves can grip and return them without knocking the rest over. Keep the opening direction the same on every station, because that makes the layout feel familiar for artists moving between rooms or working split shifts.
- Place rinse bottles on the same side of the dominant hand for that station.
- Keep labels facing outward so the contents are clear at a glance.
- Leave a clean gap between bottles and needles, cartridges or wrapped machines.
- Use a tray or caddy with a low lip so the bottles do not slide when the surface is wiped.
Build zones around the work rhythm, not the shelf space
Many studios make the mistake of storing bottles by where they fit, not by how they are used. A better layout follows the order of the work. The first bottle used for rinsing should be closest to the artist, while less used bottles can sit slightly back or to the side. That keeps the hand path short and reduces the small, repeated reaches that slow a session down.
In a compact Observatory room, for example, a front line of three bottles may be enough: one for rinse, one for dilution and one for cleaning the work surface between stages. In a larger Johannesburg studio with multiple stations, the same layout can be repeated across every table so a substitute artist does not have to relearn the setup. Consistency matters more than having a crowded row of containers.
- Use the front line for the bottles touched most often.
- Keep backup bottles in a separate shelf or drawer, not on the active station.
- Reserve a clear area for gloves, paper towels and sealed single-use items.
- Leave room for a quick surface wipe without moving every container off the tray.
Separate clean bottles from used handling points
Wash bottle zones work best when clean storage and active handling are not mixed together. If the same area holds fresh bottles, used caps and loose consumables, it becomes harder to track what has been opened and what still needs to stay sealed. That is where a small station plan helps. Give each type of item its own place and do not let the grouping drift over the day.
For studios that handle high client volume, a simple label on the underside of the tray or a marked caddy can keep the same order in place after cleaning. It also helps with handover between artists, especially when one person opens the station and another closes it. A tidy zone is not only about appearance, it keeps the working pattern steady and easier to repeat.
- Keep sealed stock away from the active wash area.
- Use one side of the station for opened bottles and the other for backup items.
- Set out sterile single-use supplies separately from reusable tools.
- Follow local health regulations for handling, storage and disposal.
Choose bottle sizes that suit the day’s load
Not every bottle needs to be the same size. A mixed setup is often more practical, especially in studios that run different styles and session lengths. Smaller bottles are easier to place close to the hand, while larger bottles can sit just behind them for longer sessions or heavier use. The aim is to avoid constant refilling without turning the station into a crowded row of plastic.
Coastal studios in Durban and Gqeberha may also benefit from storage that keeps caps and bottle necks clean and dry between shifts, because humidity can make wiped surfaces feel damp for longer. That does not mean changing the whole layout, just keeping the zone dry, covered and checked during setup. If a bottle is used for a specific rinse stage, it should stay in that role until the session ends.
- Use smaller bottles where space is tight.
- Use larger bottles for higher use stages or longer bookings.
- Keep spare caps and sealed refills in a dry storage area.
- Check that every bottle can be lifted and returned without crossing over the main work path.
Match the bottle zone to the rest of the station
The best wash bottle layout works with the rest of the station rather than fighting it. If the machine, cartridge box, disposable tray and wipe area all sit on the same side, the bottle zone should support that flow. If the artist works left handed, mirror the setup so the hand movement stays natural. A station that feels awkward on the first day usually stays awkward, so it is worth testing the layout before the room is fully stocked.
When training new staff or setting up a new studio kit, write the bottle positions into the station routine. That makes restocking easier and keeps the layout steady across branches in Cape Town, Pretoria, Stellenbosch or Somerset West. Small changes, such as moving the rinse bottle a hand span closer to the front edge, can make the whole station easier to use without changing the furniture.
- Keep the bottle zone aligned with the artist’s working side.
- Leave a clear line for the machine, needles and cartridges.
- Mark the station order so restocking stays the same across shifts.
- Use the same layout in every room where possible.
A Cape Town layout that stays tidy under pressure
A practical local example is a small studio in Observatory serving walk-ins and appointment clients on the same day. The station can be set with three wash bottles on a shallow tray, one sealed waste container beside it, and a narrow shelf behind for refills and spare consumables. The artist keeps the active bottles at the front edge and the backup stock behind a clear divider, so the work surface remains easy to read even when the room is busy.
This kind of layout works because it is repeatable. If the station is reset after every client, the next session starts in the same position and the bottles are where the hand expects them to be. That saves time during the day and reduces the small errors that happen when items are moved around for convenience then left there. A neat bottle zone is not fancy, it is just steady.
For studios ordering online and sending stock to Cape Town, Johannesburg, Durban, Pretoria or Gqeberha, the same rule applies to the box as to the station: group what is used together, store it cleanly and keep the order easy to follow. That approach also helps when planning consumable reorders or seasonal restock plans, because the items are easier to count and less likely to be misplaced.