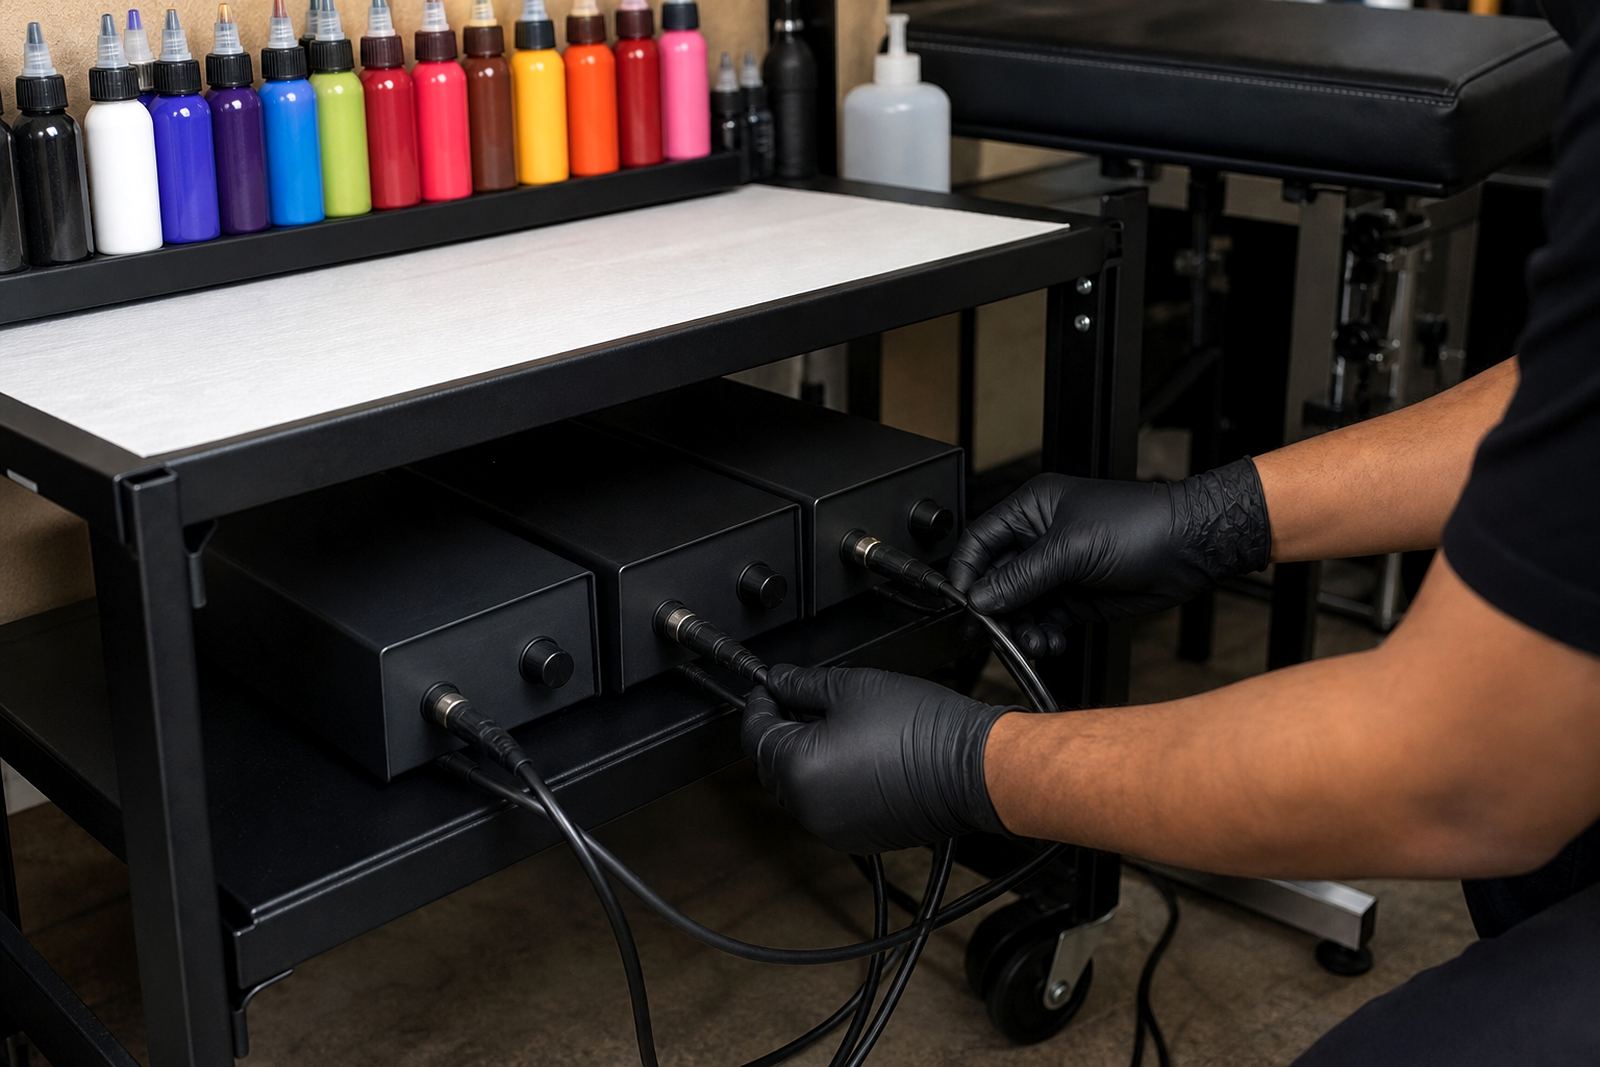

Build a label system that works from the front shelf
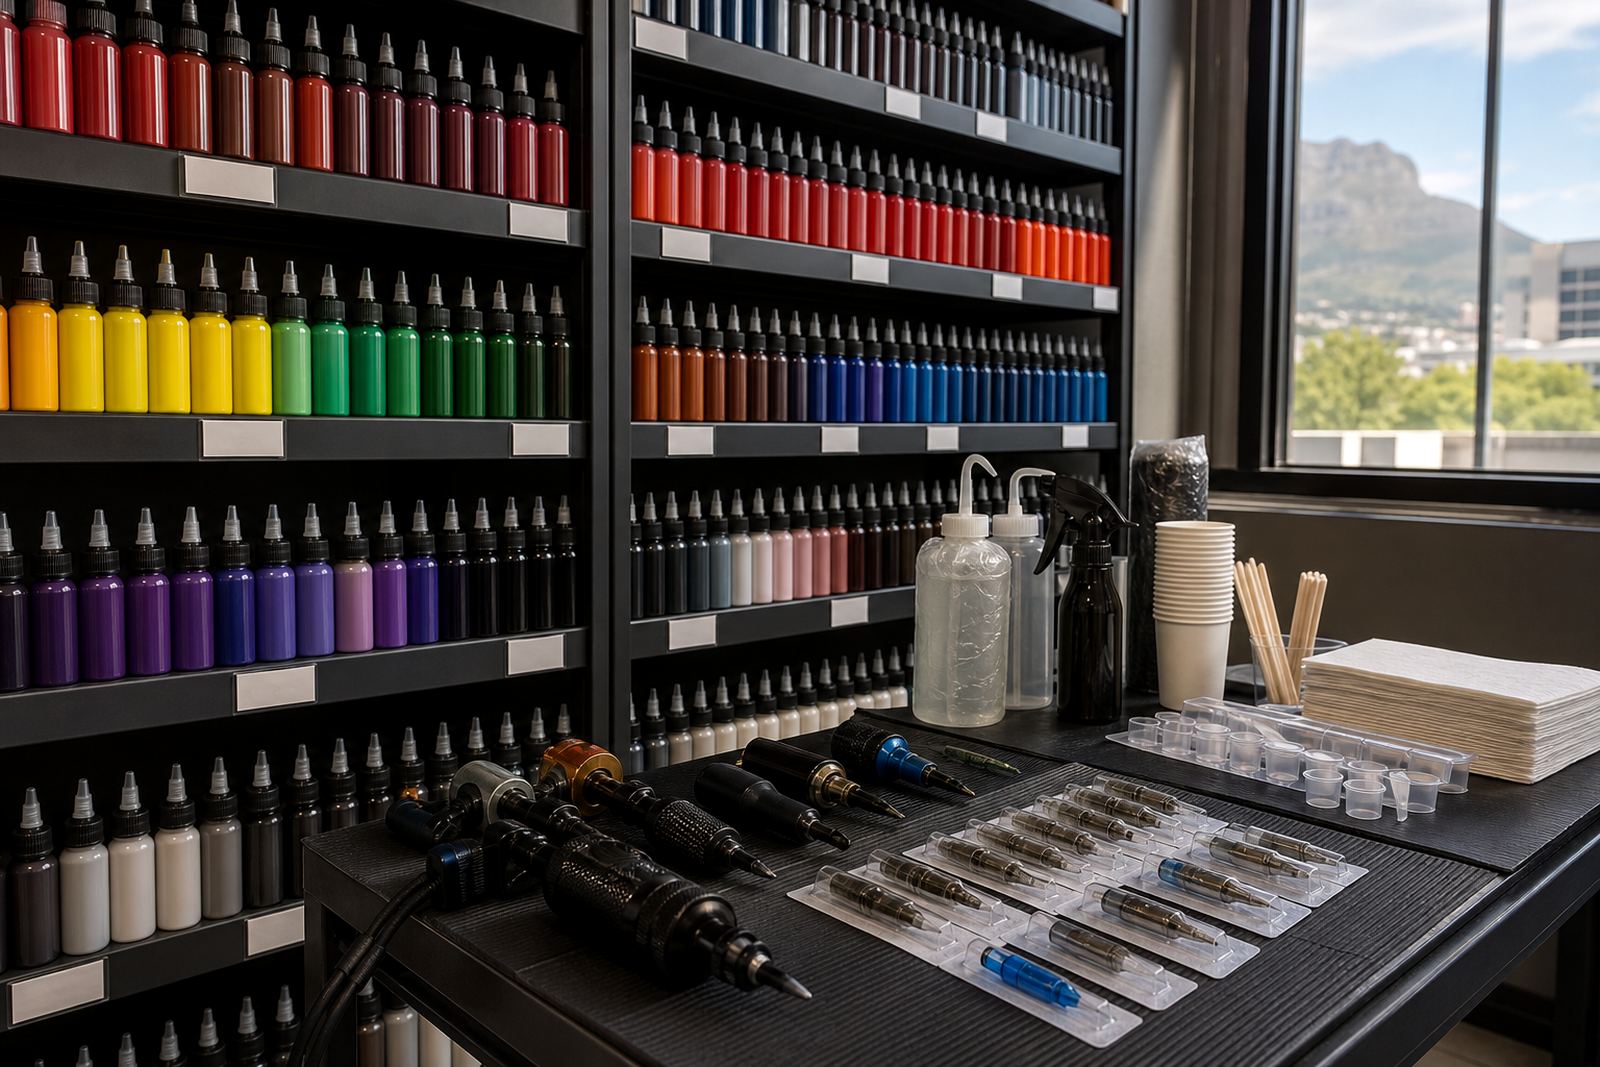
Ink bottles move quickly in a working studio, so the label has to do its job at a glance. The most practical setups use a clear front label, a top marker for shelf scanning, and a repeatable naming format across every row. That way, a bottle can be found whether it is standing upright in a drawer, on a tray, or packed in a storage tub.
Keep the wording short and consistent. A good label usually includes the ink family, shade name, and bottle size. If the studio keeps similar tones together, the eye can move across the row without stopping at each bottle. For small spaces in Observatory or a compact station in Stellenbosch, that kind of order makes a real difference when the day gets busy.
- Use the same label position on every bottle.
- Keep text large enough to read from arm’s length.
- Group shades in a fixed order, such as light to dark.
- Leave space for stock codes or batch notes if your system uses them.
Group bottles by use, not just by colour
Colour order helps, but it is not enough on its own. Many studios work faster when bottles are grouped by how they are used through the day. For example, lining up lining inks, shading inks, mixing tones, and specialty colours in separate blocks makes it easier to restock and easier for a new team member to learn the shelf layout.
This also helps with storage planning. If one drawer or shelf is marked for skin tones, another for black and grey, and another for bright colours, the team does not need to search through mixed rows. In a Durban studio where humidity can be high, keeping bottles in clearly marked containers also helps reduce unnecessary handling, which is useful when the stock room gets warm and busy.
- Separate daily-use bottles from back stock.
- Keep cartidges, needles, and inks in different storage zones.
- Mark a home shelf for each product group.
- Use one side of the rack for open stock and one side for sealed stock.
Shelf markers that save time during busy sessions
Strong shelf markers are just as useful as bottle labels. A simple tag, divider, or printed strip can show where each group starts and ends. When shelves are packed tightly, the marker does the work of a bigger sign without taking up space. This matters in studios where workstations share storage or where the front room and back room are both used for supplies.
For bottle rows, shelf tags can be numbered or colour coded. Some studios use a plain strip for black inks, a second strip for grey wash, and a third for colour sets. Others add a short code that links to stock records. There is no need for anything complicated, just a system that stays the same from one shelf to the next.
- Use shelf strips with large print and high contrast.
- Keep each shelf category in the same place every week.
- Label the ends of racks, not only the front edge.
- Use wipeable materials so marks do not fade after cleaning.
Storage in Cape Town conditions needs plain, practical order
Cape Town studios often deal with changing room temperatures, coastal air, and shelves that fill up faster than expected. A tidy labelling system helps staff spot any bottle that has been moved, opened, or placed in the wrong row. It also makes stock counts easier when supplies are reordered for branches in Johannesburg, Pretoria, Gqeberha, or along the Cape route.
A useful local example is a shared studio in Observatory that keeps its inks in one locked cabinet and its needles and cartridges in another. The cabinet doors are marked by product group, while each shelf has a short list of what belongs there. That sort of layout cuts down on searching, and it is especially handy when several artists are using the same storage area on different days.
- Choose labels that stay readable in warm or humid conditions.
- Keep bottle caps facing the same direction for quick checks.
- Mark incoming stock before it goes onto the shelf.
- Store full bottles behind active bottles to avoid clutter.
Match bottle labels with needle and cartridge groupings
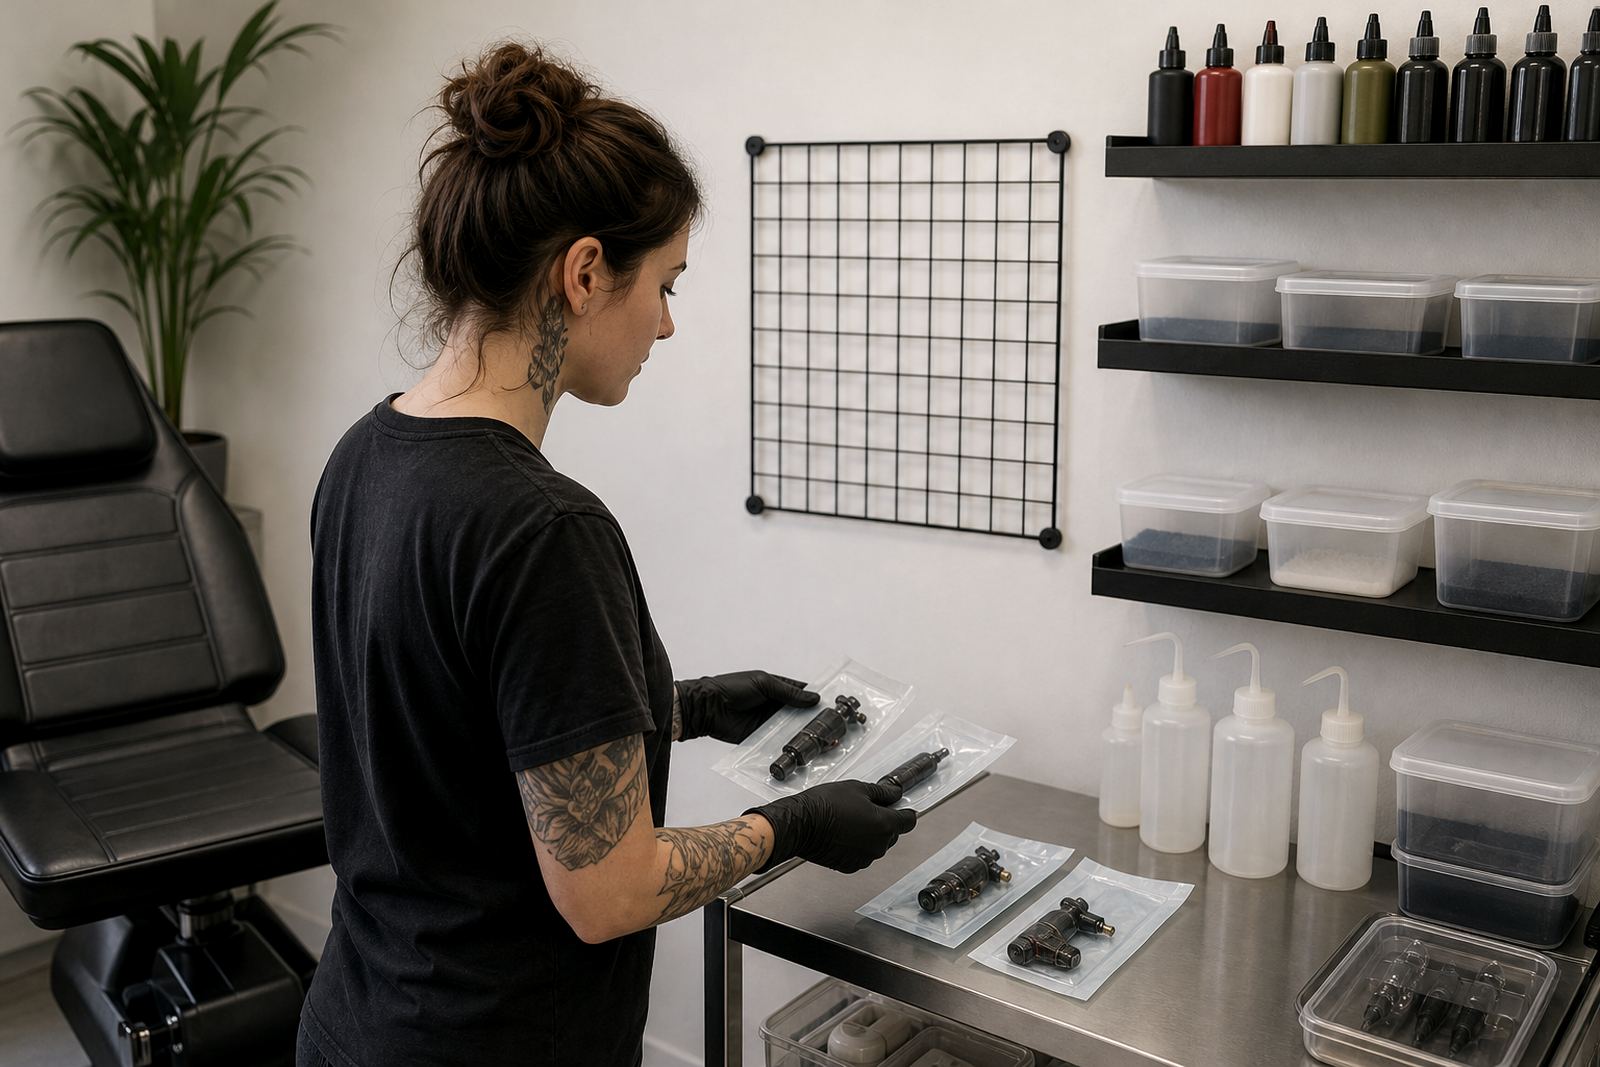
Good ink labelling works best when the rest of the supply shelf follows the same logic. Needles, cartridge groupings, grips, caps, and sterile single-use items should all be stored in a way that is easy to scan. If the bottle rows are neat but everything else is mixed together, the shelf still slows people down.
Many studios use the same broad grouping across all consumables. Lining cartridges in one section, shading cartridges in another, and general prep supplies in a separate box keeps the workflow neat. It also makes it easier to check what is low before placing a larger order. The key is simple: if an artist can find the right bottle quickly, they should be able to find the matching consumable just as quickly.
- Group cartridges by usage and size.
- Keep sterile single-use items in sealed, clearly marked packs.
- Separate machine accessories from inks and clean supplies.
- Label each tray so products return to the same place after use.
A label routine that stays useful after the first week
Labelling only works if the system is kept up. A weekly check is enough for most studios: replace damaged labels, remove empty bottles, and move any misfiled stock back into its correct row. If the same person checks the shelves each week, the pattern stays consistent and the stock room does not drift into a jumble.
It also helps to assign one naming rule for every new bottle that enters the studio. Whether the item is a standard black, a wash set, or a bright colour group, the wording should match the shelf marker and the stock list. That small bit of discipline keeps the rows easy to scan, and the whole storage area feels calmer to use.
For studios that need help planning ink storage, bottle rows, or consumable grouping, InkX Tattoo supports South African studios with product range help, stock list guidance, and practical reorder planning through the enquiry form on the contact page.
- Review labels before each restock.
- Remove damaged or unreadable tags straight away.
- Keep one naming rule for all product groups.
- Update shelf markers when the range changes.