Build the kit around the appointment list
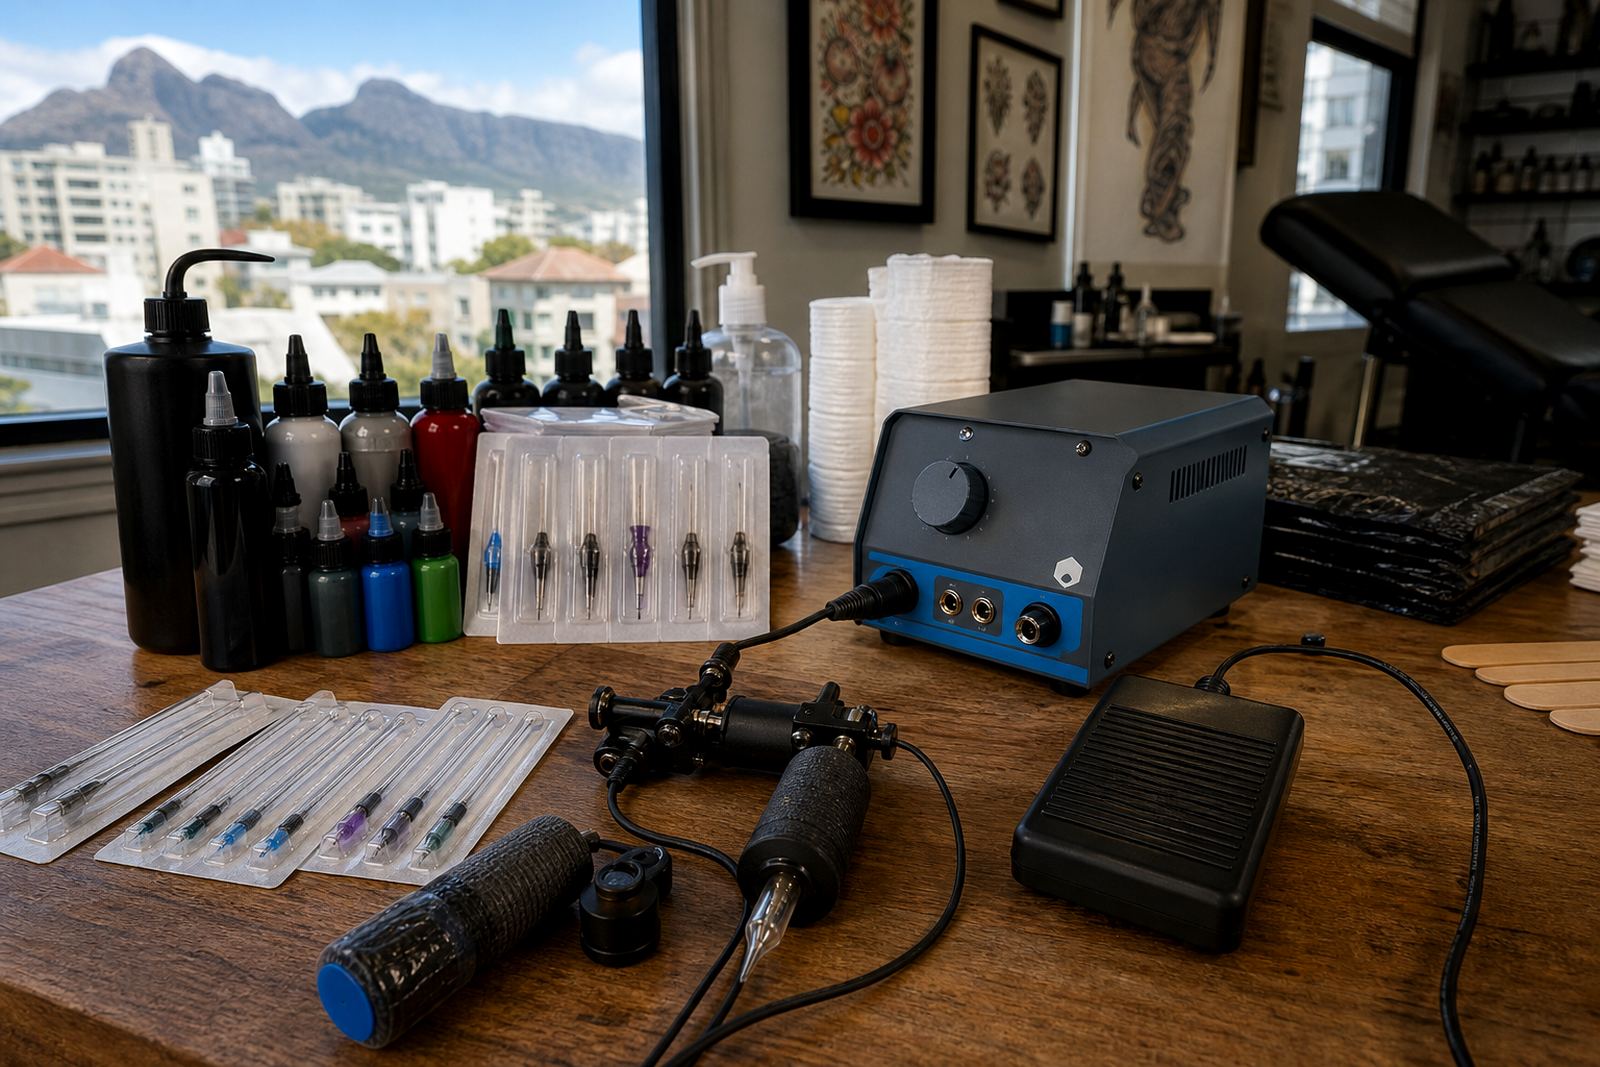
Guest packing works best when it starts with the actual booking sheet. Count the number of pieces expected, the tattoo style, the machine setup and the surface area likely to be covered. That tells you how many inks, cartridges, grips, cups, barriers and wipes to send. A portrait day in Johannesburg asks for different supplies than a flash walk-in session in Gqeberha, and the kit should reflect that.
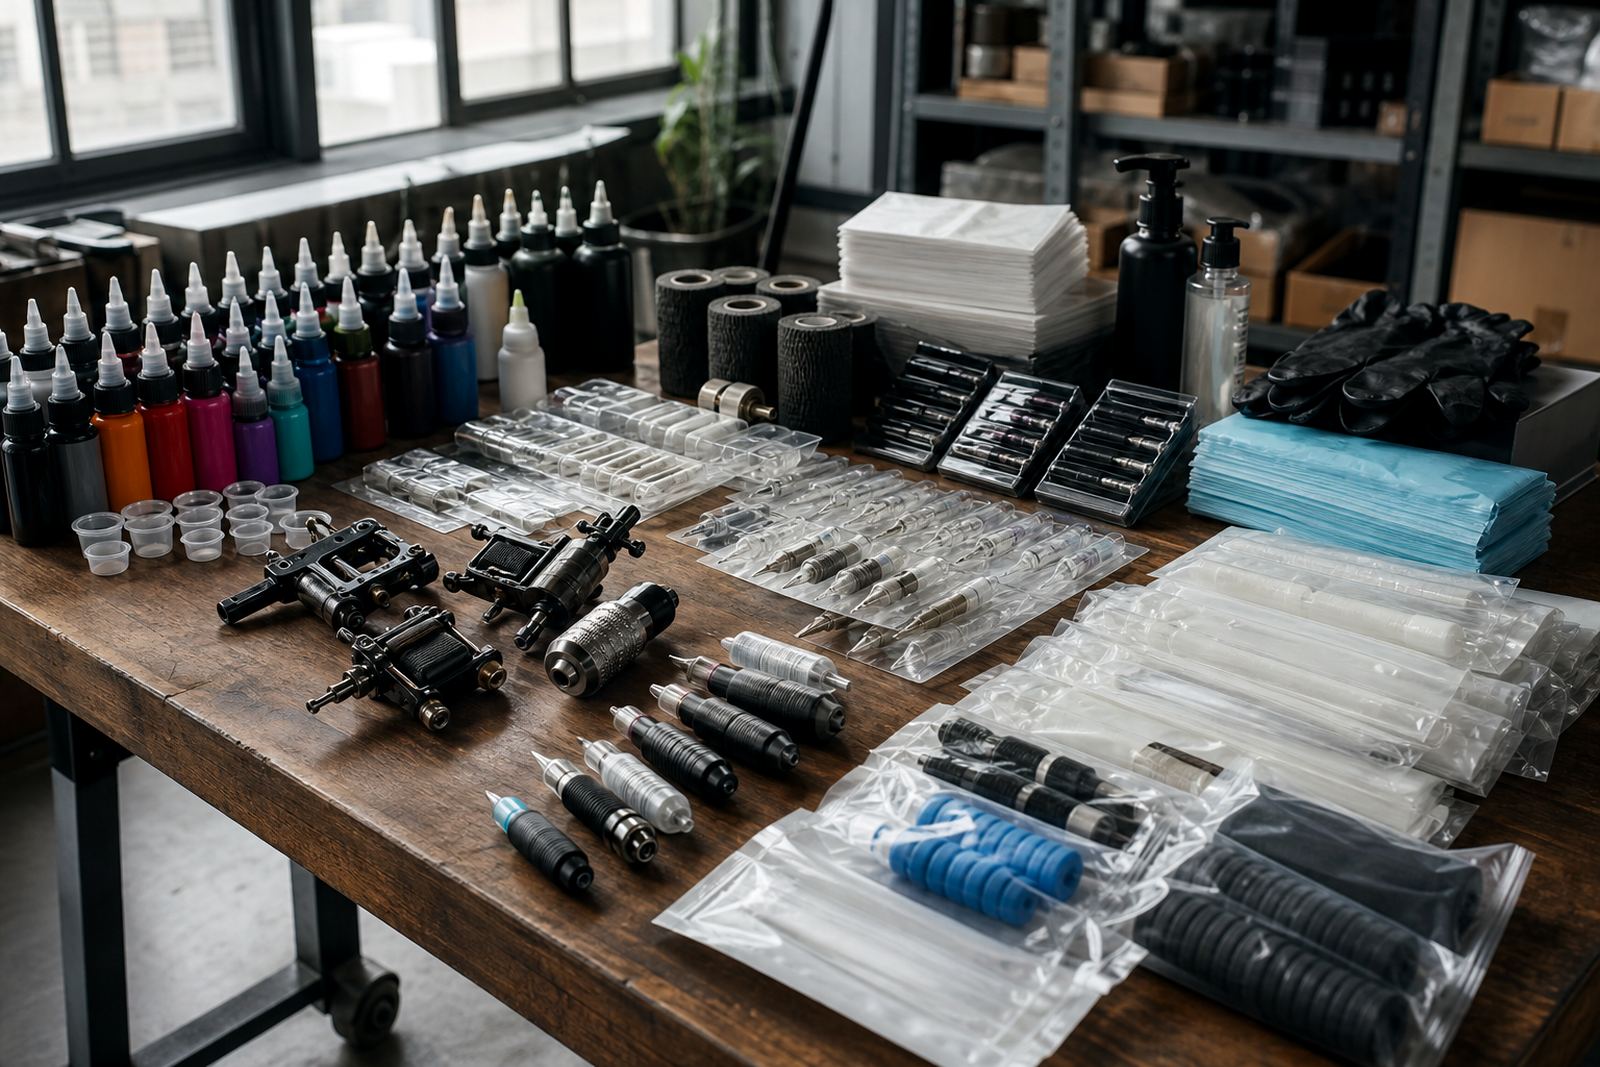
Keep one master pack list for each type of visit. It helps reduce forgotten items and stops the same consumables being packed in different ways every time. For a short studio visit, a compact kit may be enough. For a full guest weekend, split the load into colour, line work, sterile disposables and cleaning stock.
- Match the kit to the number of clients booked
- Separate inks from sterile consumables
- Pack extra gloves, barriers and surface covers
- Leave room for local studio items already on site
Group inks by task, not by random bottle order
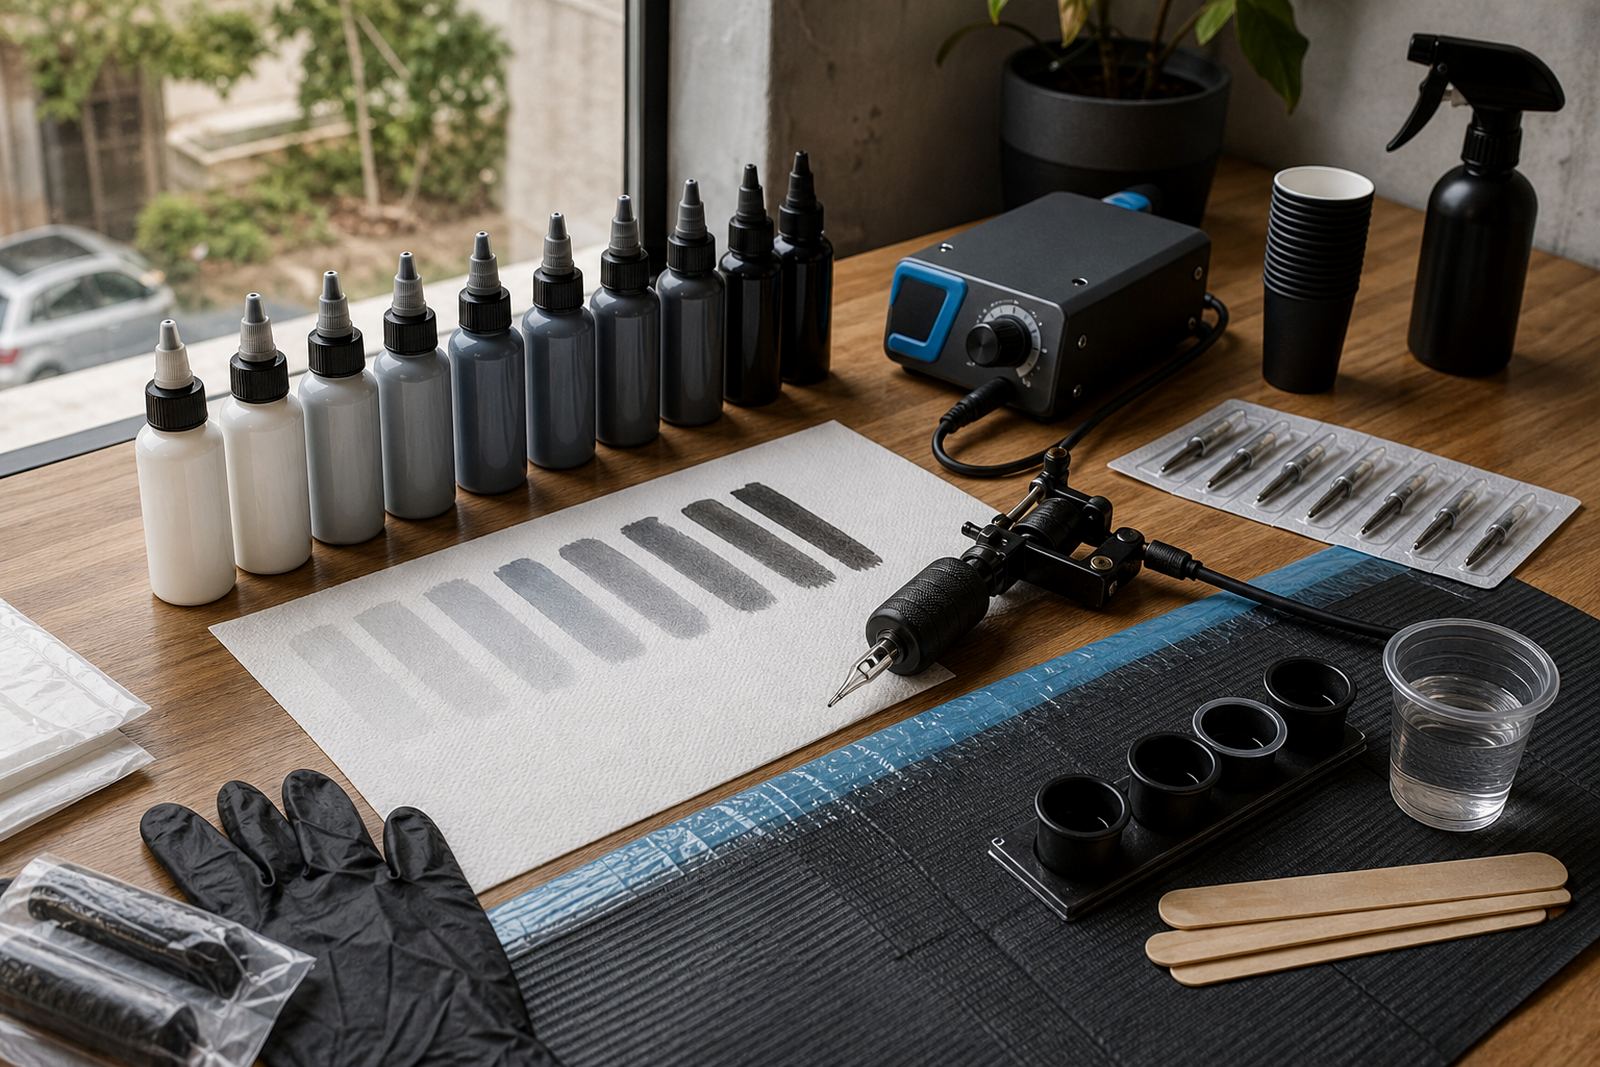
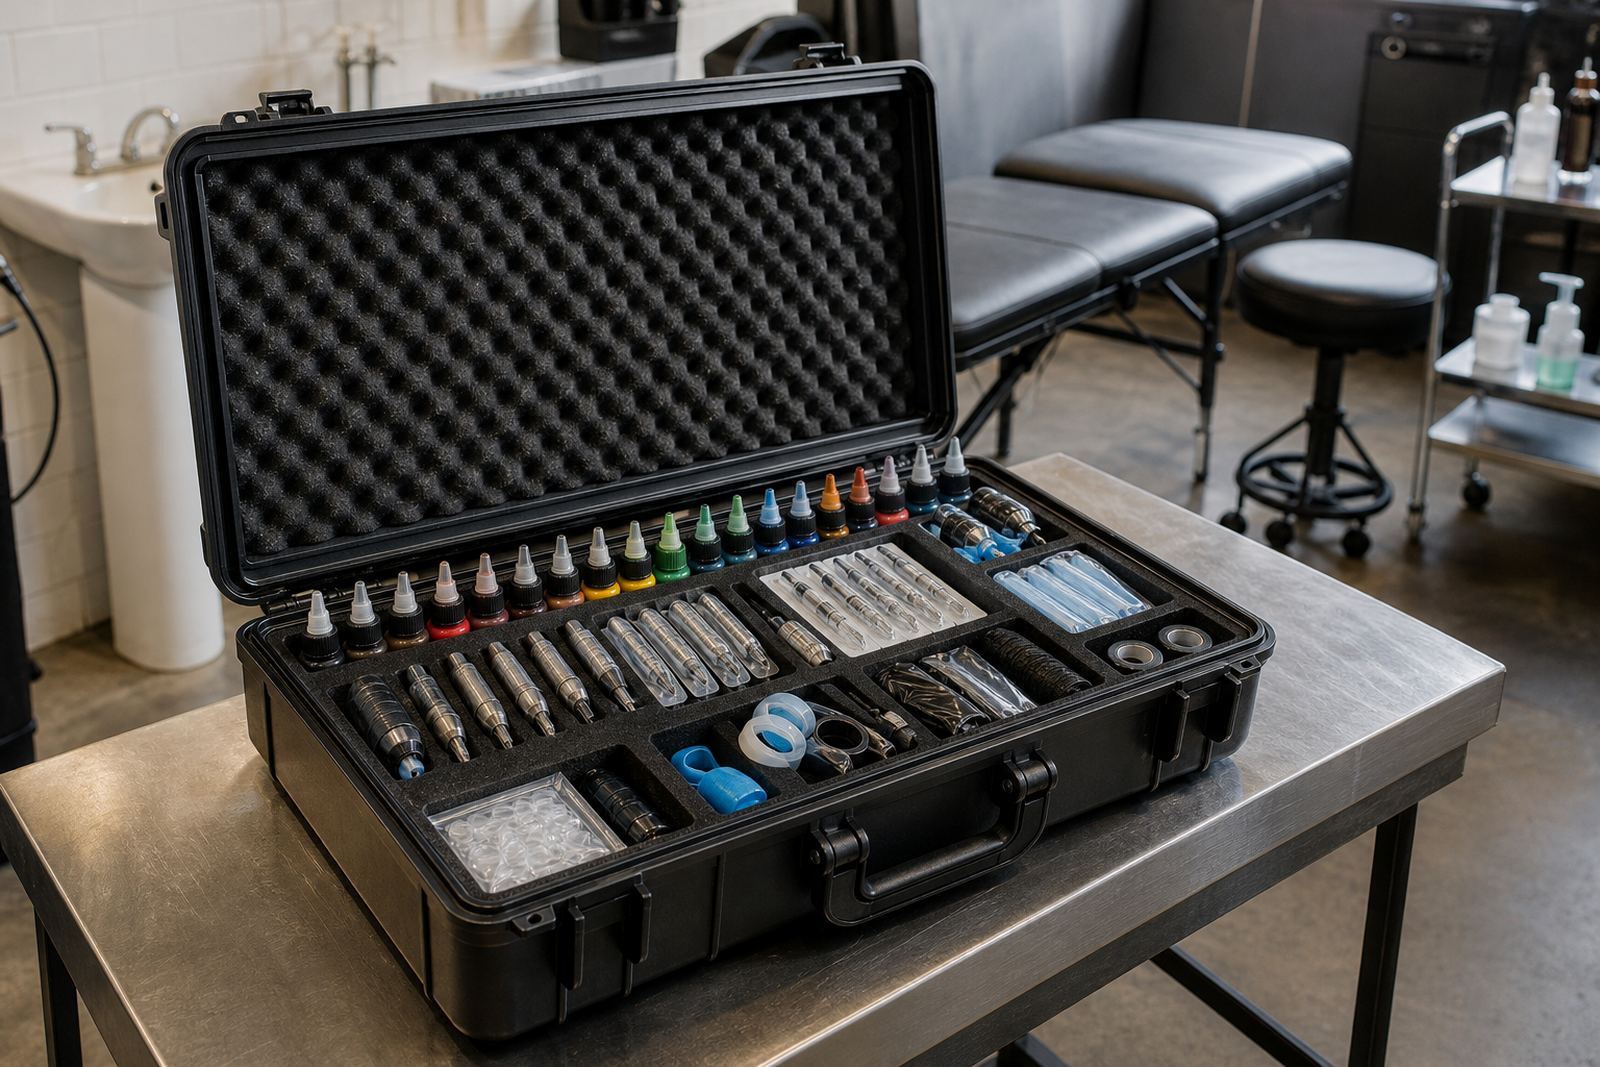
Tattoo inks are easier to use when they are packed in a working order. Put lining shades together, then shading tones, then colour groups. If the guest artist prefers a set of wash tones or a limited palette, keep those bottles in one tray or pouch so nothing gets buried under the rest of the case. On a humid Durban booking, a neat closed pouch also helps keep dust and moisture off the caps during transport.
Label the groups clearly and keep the caps tight. A small leak can spread through a box and waste more than one colour. If the kit is being carried between studios in Cape Town, Stellenbosch and Bellville, it is worth using sealable inner bags for each ink group so the pack stays tidy after road vibration and quick unloads.
- Line work inks in one section
- Shading and greywash in another
- Colour packs sorted by tone family
- Spare labels or markers for quick identification
Needles and cartridges need counted sets
Needle and cartridge groupings should be packed as counted sets, not loose boxes thrown in at the last minute. Keep the common sizes together, then separate any specialist configurations the artist uses for soft shading or tighter lining. That way the opening set is easy to check before the first client sits down.
For visiting artists, the safest habit is to pack only what will be used on the day, plus a modest buffer. Too much loose stock means more sorting at the station and more chance of something being left in the wrong tray. A simple pouch layout works well: one section for liners, one for shaders, one for the cartridge types used most often. It saves time when the studio is busy and the artist is switching between stations.
- Count each size before packing
- Separate general use from specialist pieces
- Keep unopened packs distinct from opened stock
- Use one pouch or tray per grouping
Pack sterile single-use supplies with a clear order
Single-use supplies are easiest to manage when they are packed in the same sequence they will be opened. Put gloves, barriers, clip cord covers, grips, razors, wipes and other sterile items in a set order. When the artist is setting up at a studio in Observatory or doing a guest slot in Pretoria, the workflow stays cleaner if the pack mirrors the station layout.
It also helps to split clean stock from used waste materials at the packing stage. Use separate containers for sterile items and disposal items so the station does not become cluttered. Follow local health regulations for handling, opening and discarding consumables, and use the studio’s own hygiene routine for every guest day.
Think about storage on the road and at the station
Portable kits spend time in cars, under counters and near busy work surfaces, so storage matters. Hard cases work well for machines and bottles, while soft organisers are useful for light consumables. In coastal areas like Cape Town and Gqeberha, close-fitting containers help protect supplies from damp air and accidental spills. In hotter inland travel, a bag that closes properly keeps dust away from open packs.
If the visiting artist is moving between a hotel room, a studio and a private appointment, pack items in the order they will be used. The first layer should hold setup items, the middle layer should hold inks and needles, and the last layer should hold clean-down supplies. This makes unpacking quick and avoids rummaging through the whole case for one small item.
Keep the station clean before the first client sits down
Guest kit packing is not only about what goes into the bag, it is also about how the station will look once the kit is opened. A practical pack includes covers for worktops, waste bags, spray bottles, surface wipes and spare barriers so the artist can set up without borrowing from three different cupboards. That matters in busy studios where one team is running appointments and another is preparing the next chair.
For example, if a guest artist is flying into Cape Town and working a full weekend in Observatory, the studio can pre-stage the station with a ready clean cloth, lined waste bin and sealed consumable tray. The artist then only opens what is needed, and the rest stays packed until it is used. That makes the whole day easier to manage, especially when the schedule is tight.
- Pre-stage clean surface protection
- Keep waste bags and cleaning stock separate
- Open only what the day needs
- Leave spare items sealed until required
A last check before the first needle goes in
The final check is simple but important. Count inks, check cartridge groupings, confirm machine accessories, look through the sterile supplies and make sure the pack matches the appointment list. If anything is missing, it is better to fix it before the first client arrives than to interrupt the session later. A good guest kit should feel orderly from the first unzip to the last wipe-down.
In practice, that means one person packs, another person checks, and the kit is signed off before it leaves the store room. It is a small habit, but in a working studio it saves time, avoids confusion and keeps the guest artist focused on the job in front of them.