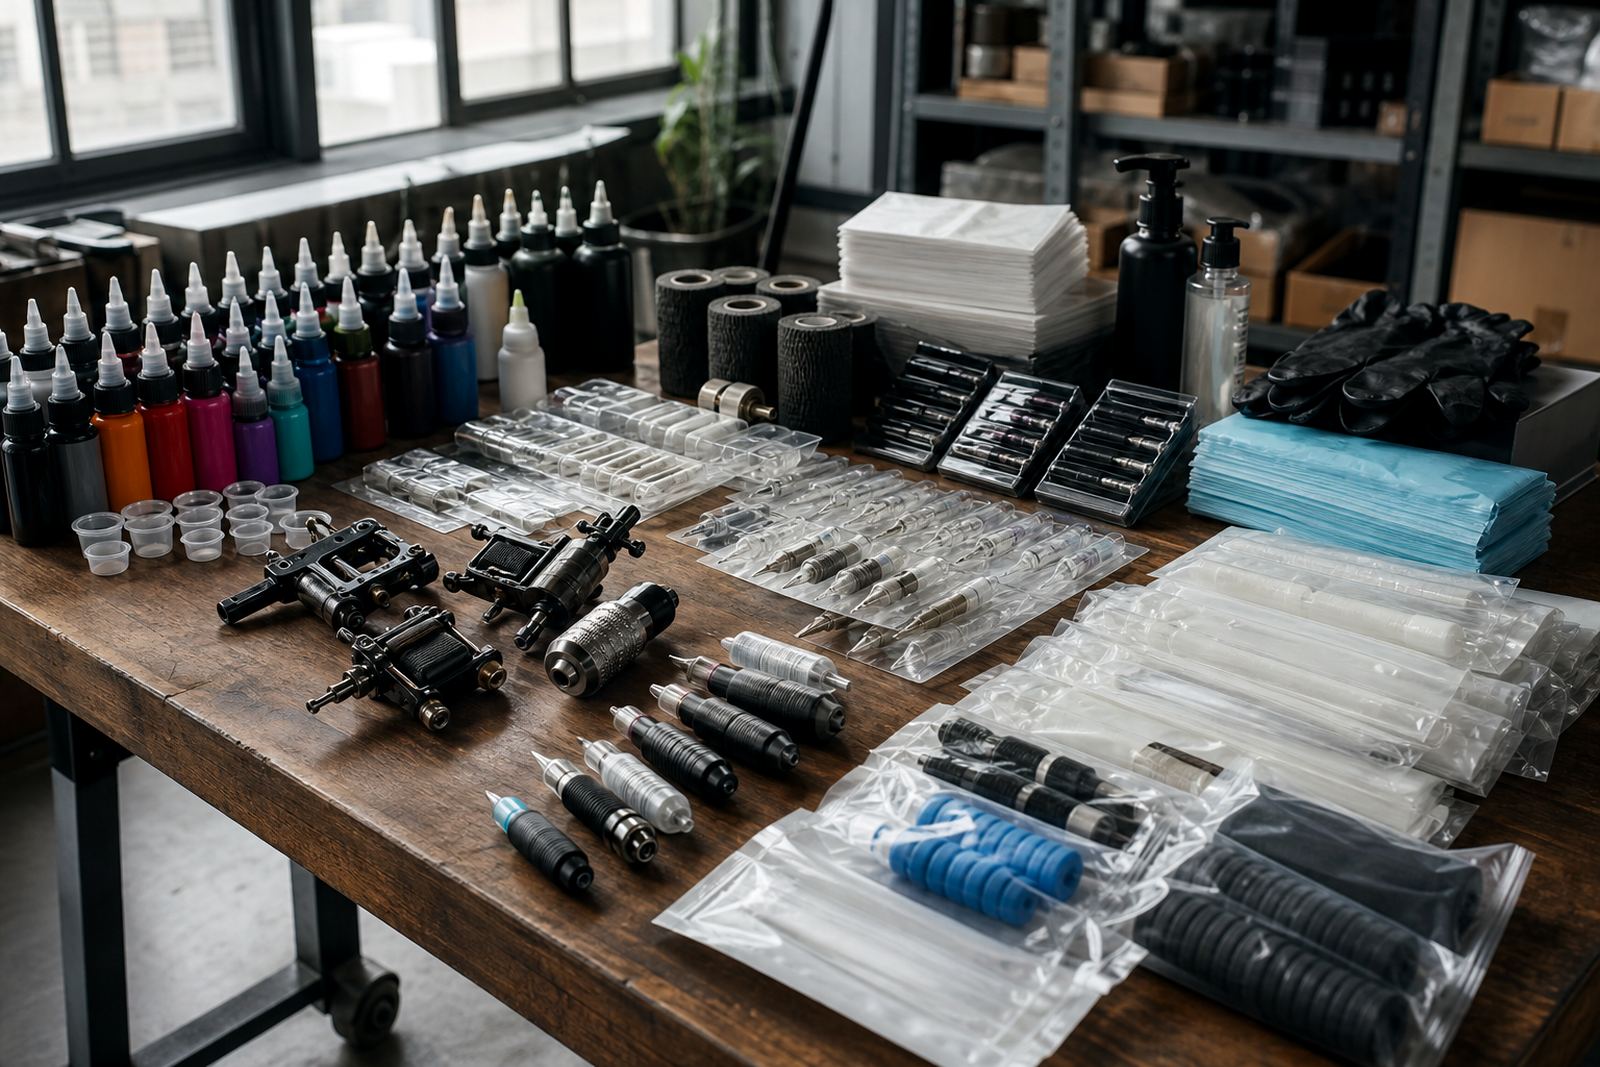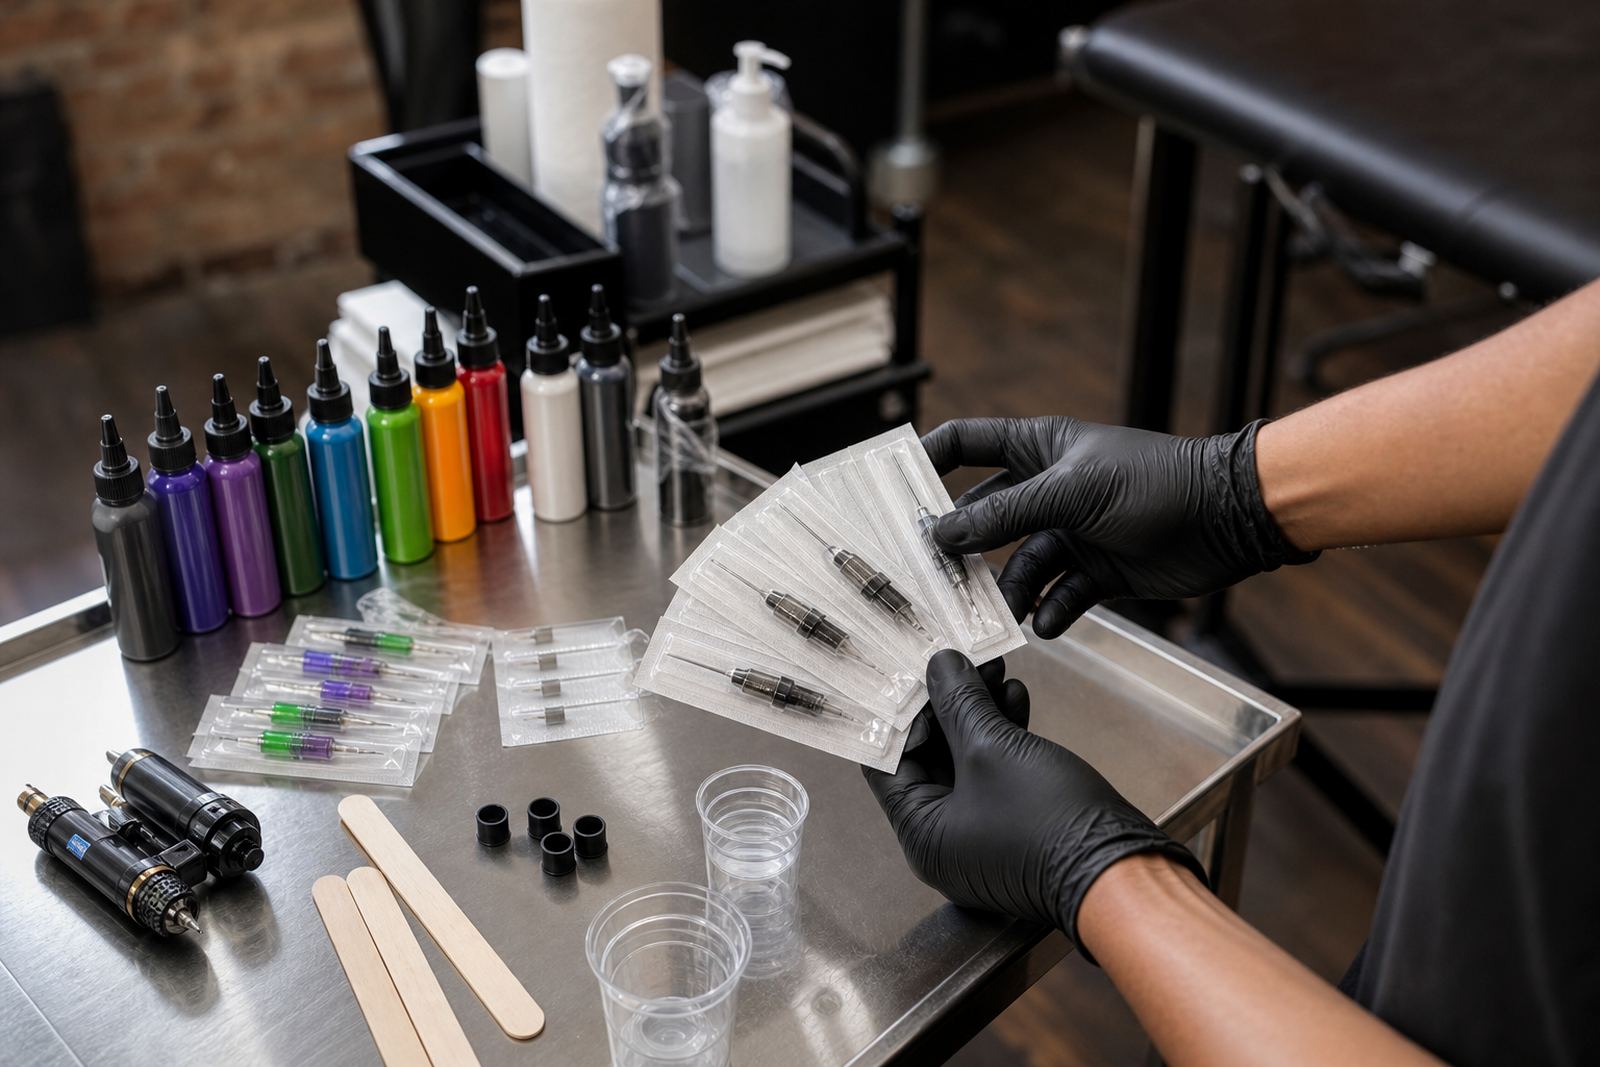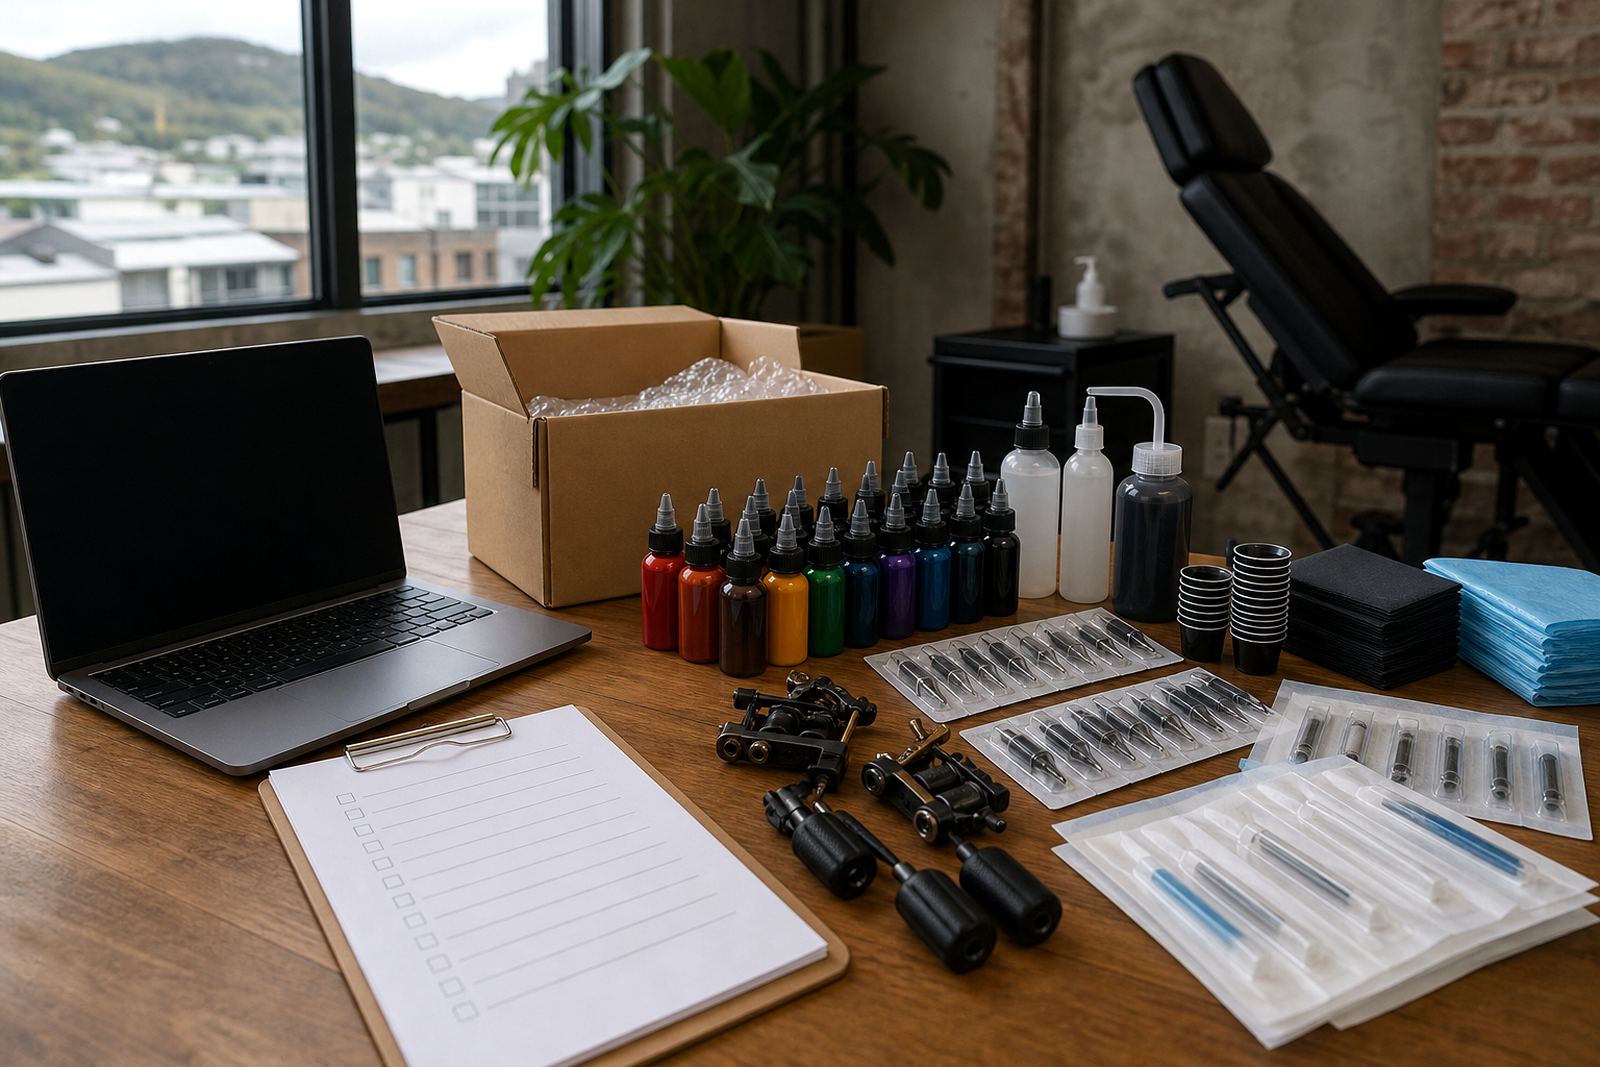

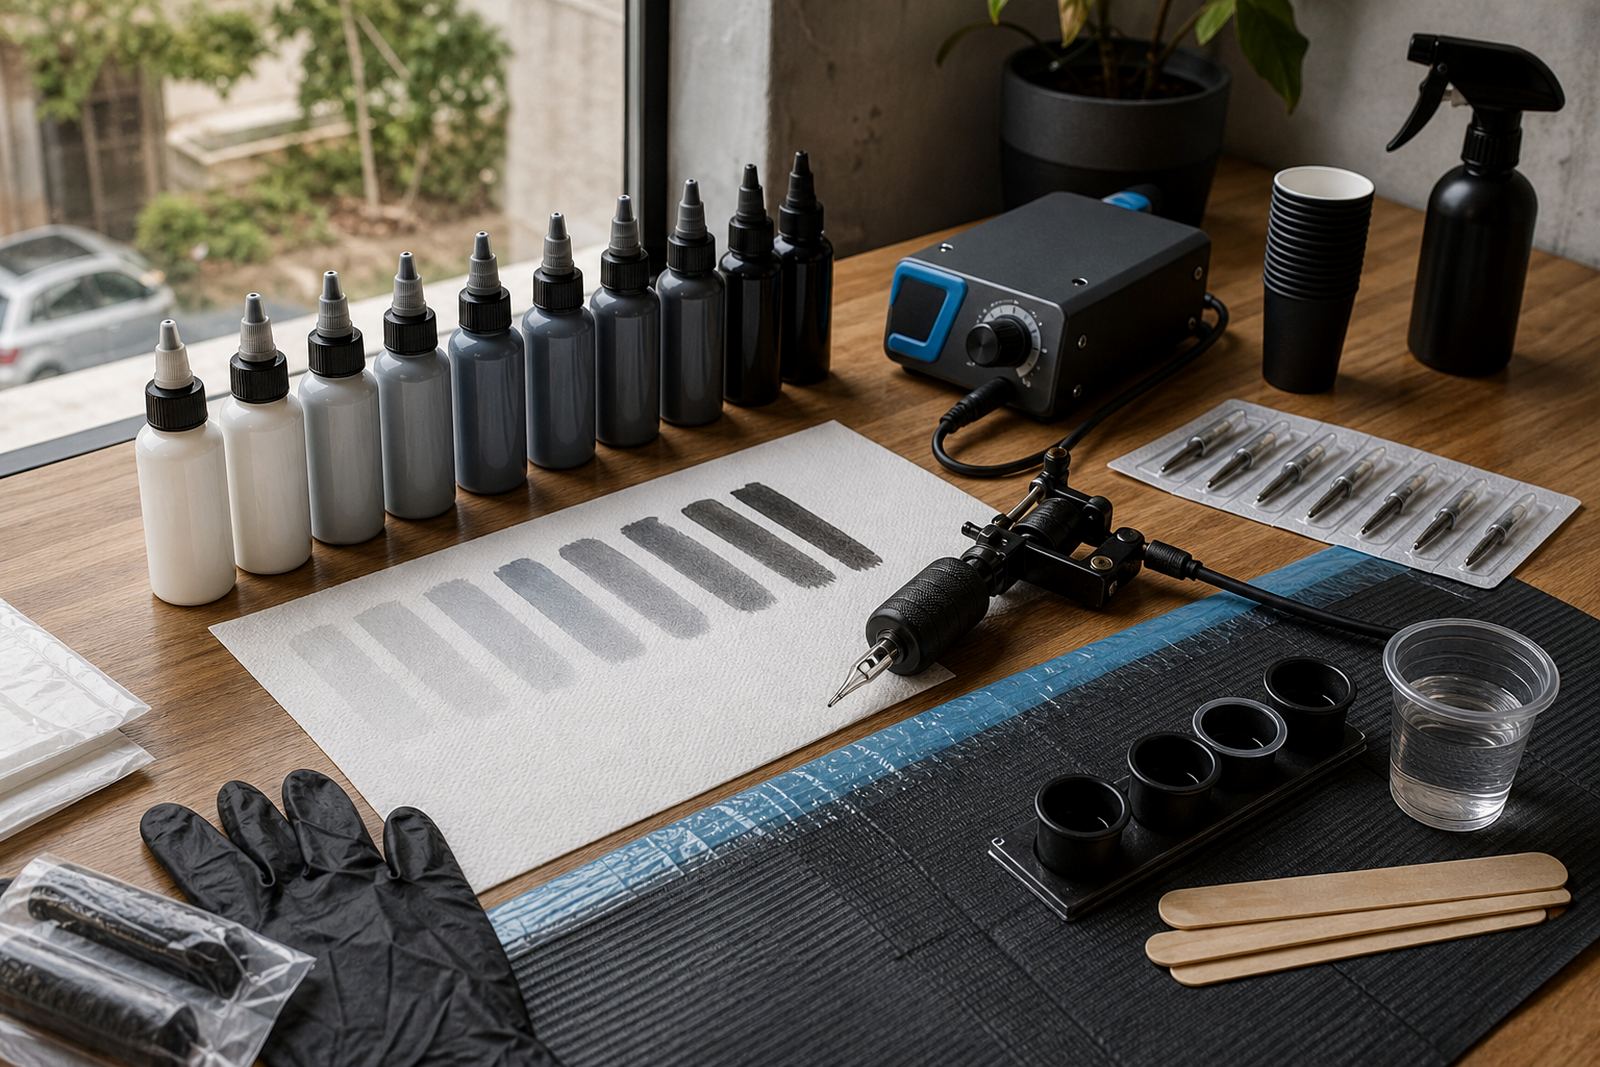
What greywash groupings are meant to do
Greywash is usually kept as a small set of tonal steps rather than one all-purpose mix. In practice that means lighter, mid and darker groupings that let an artist move through shading without stopping to remake a cup or guess the next value. The exact number of steps varies from studio to studio, but the useful part is consistency. If the lightest cup behaves the same on every client, the rest of the session is easier to pace.
For stock planning, greywash should be treated as part of the core shade range, not as an afterthought. A studio that does black and grey work regularly will often need more than one size of each group, especially where bookings are spread across full-day sessions. In Cape Town and along the coast, sealed bottles and tidy storage matter too because humidity can affect how organised a station stays, even when the product itself is stable.
Planning tonal steps before the first tray is opened
Tonality is easier to manage when the range is mapped out before the first client sits down. Some artists prefer a simple three-step set, others keep five or more stages for portraits, realism or softer background work. The point is to know which cups or bottles will be used first and which ones are there for detail, smoke, soft fill or deeper shading.
- Light greywash for airy gradients and early shading passes
- Mid greywash for steady blending through larger skin areas
- Dark greywash for contrast, shadow depth and tighter transition work
- Separate black for linework or solid dark sections where needed
- Extra sterile mixing items ready for changes between clients
A clear step plan also helps with stock counts. If a Pretoria studio uses more mid and dark tones during portrait sessions, those groupings should be re-ordered differently from a shop that does mostly fine line work. That kind of split keeps the shelf useful instead of cluttered.
Needle and cartridge choices that suit soft shading
Greywash behaves differently depending on the needle grouping or cartridge grouping in use. Smaller groupings can make smoother transitions in tighter areas, while wider groupings may move more pigment across broader sections. There is no single setup that suits every artist, but the match between tonal range and grouping size has a real effect on how clean the shading feels during the session.
Shading work often benefits from keeping the main groupings close at hand and separating them from the linework setup. That helps reduce mix-ups at a busy station and keeps the workflow clear when a second artist is sharing the same table. In larger Durban or Johannesburg studios, that kind of separation can also help the team pack kits for different artists without overloading the tray.
- Fine groupings for controlled blending in smaller areas
- Medium groupings for standard greywash passes and soft fill
- Larger groupings for broader shading on larger panels
- Single-use packing kept sealed until the station is prepared
- Separate storage for needles, cartridges and other sterile items
Storage habits that keep greywash stock orderly
Greywash bottles, liners, cartridges and sterile consumables all work better when the shelves are labelled with the actual tonal step and the use category. A tub marked only as grey can create confusion when several artists are pulling stock during a busy week. Clear labels, grouped trays and a simple first-in, first-out habit make stock checks less stressful.
For studios handling deliveries to Bellville, Stellenbosch or Somerset West, storage also has to suit the pace of receiving and splitting stock into artist kits. Keep open items in the right place, keep sterile packs separate from opened consumables, and avoid mixing old and new bottles on the same shelf. A clean storage plan is part of studio hygiene, and local health regulations should always be followed when setting the room up.
Useful storage notes for greywash stock:
- Store by tonal step, not just by colour family
- Keep sterile single-use supplies sealed until needed
- Separate outgoing station packs from reserve stock
- Rotate older stock forward where appropriate
- Check bottle labels before a session begins
How a Cape Town studio might build a greywash shelf
A practical example helps. An Observatory studio working across portrait, fine line and black and grey appointments may keep a compact shelf with light, mid and dark greywash, plus spare black, cartridges and sterile wrap items. If the week includes a few larger pieces, the stock drawer can be topped up with extra mid tones and larger groupings so the artist is not forced to improvise midway through a session.
That same studio may send kits to a second chair in Gqeberha or prep for a guest artist in Johannesburg. In that case the easiest system is one where every tonal group is counted, packed and logged before dispatch. It saves time at setup and makes replenishing easier after the day is done. For a busy shop, this is less about style and more about keeping the station ready for the next booking.
What to keep close when shading work is booked in
When a greywash-heavy appointment is on the calendar, the station should have the right consumables within reach before the client arrives. That usually includes the chosen tonal steps, the matching needle or cartridge groupings, sterile single-use items, and enough wipes, clip cords or machine covers where the setup calls for them. The aim is not to overcrowd the tray but to keep the useful items in easy reach.
In South African studios, load-shedding matters only where the machine setup or station lighting runs on mains power, so a small backup plan for power-dependent items can be sensible. Beyond that, the stock side should stay organised and traceable. If a product substitution is needed, it helps to know whether the replacement fits the same tonal purpose or whether it changes the way the shading will be built across the session.
- Greywash grouped by light, mid and dark steps
- Needles or cartridges matched to the planned shading size
- Sterile single-use items ready for the full appointment
- Clean storage for open and sealed items separately
- A clear restock check after every full session block
Keeping tonal planning practical for the long run
Greywash stock works best when it is treated as part of the studio routine, not a special order that gets forgotten. If the team knows which tonal ranges are used most often, procurement becomes simpler and station packs stay more consistent. That helps a studio support different artists without loading every shelf with the same quantities of everything.
For South African studios that deliver across Cape Town, Johannesburg, Durban, Pretoria and Gqeberha, the useful habit is steady reordering tied to actual usage. Range grouping advice, station planning and consumable reorders all support the same outcome: a cleaner setup, fewer missing items and a better match between the art planned and the stock on hand.