
Sort by grouping before you sort by size
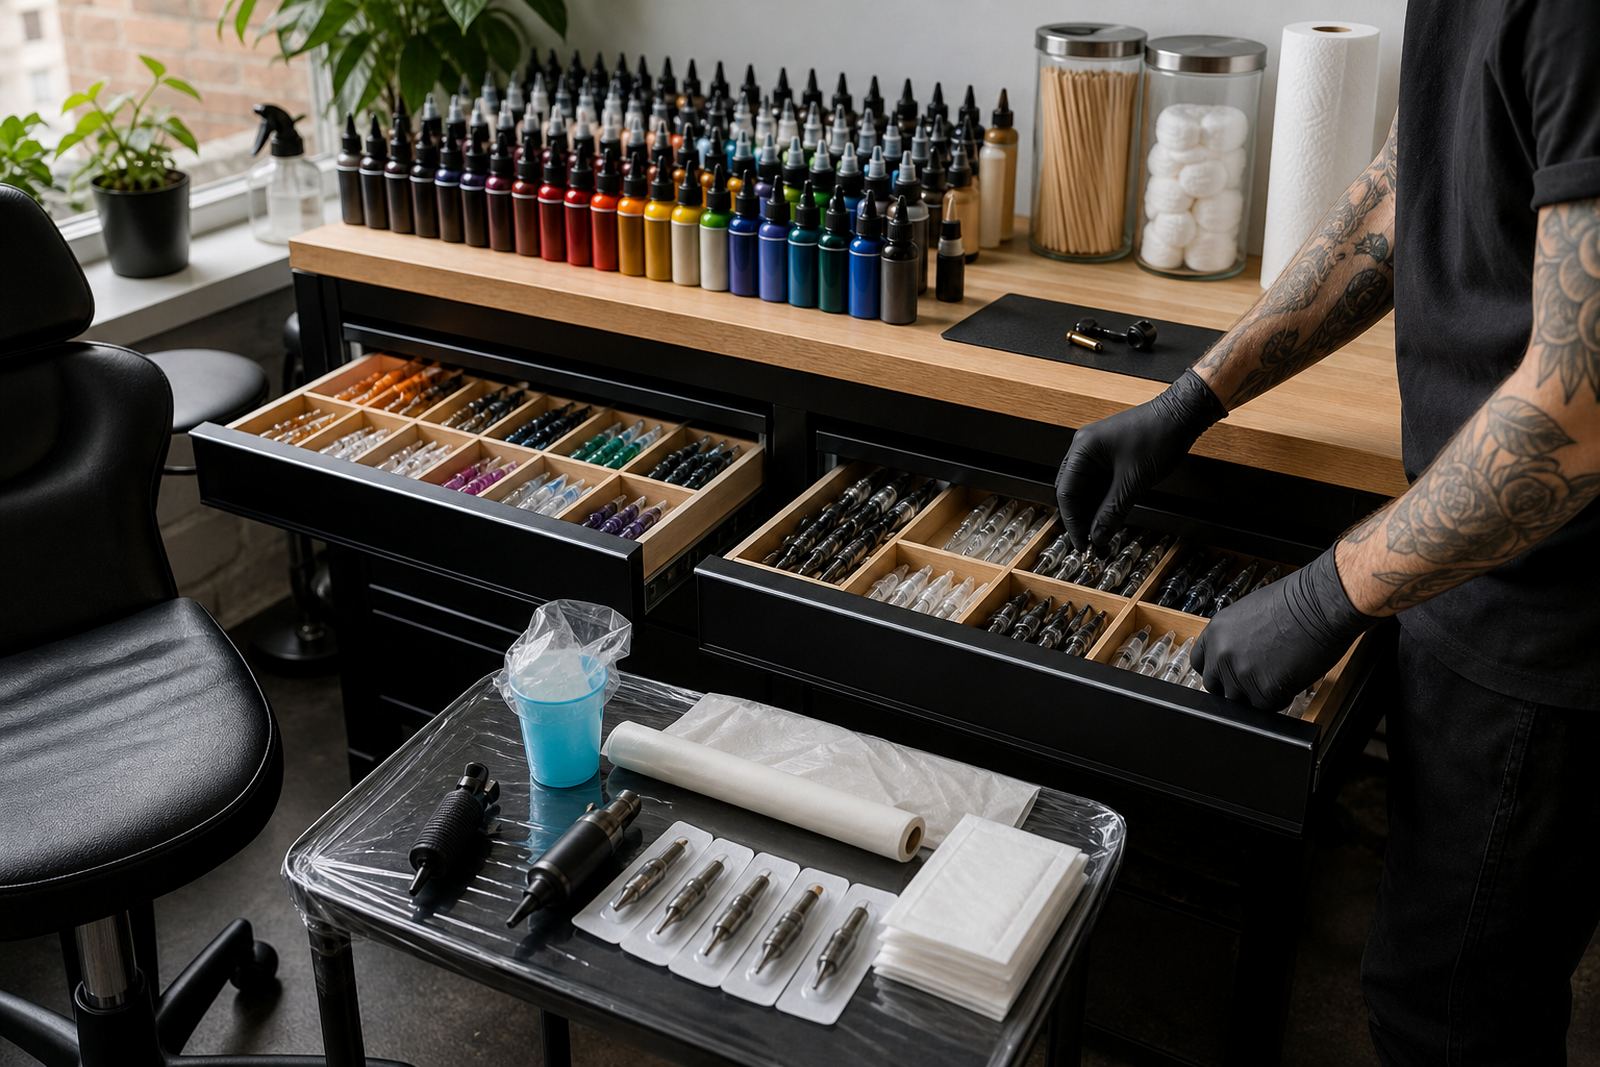
Start with the cartridge group, then move to size. A linework cartridge, a shader cartridge and a mag cartridge may all look similar in the tray, but they serve different purposes and should never end up mixed in the same row. When cartridges are organised by grouping first, the artist can reach for the right family of tools without slowing the session down.
A practical shelf order is easy to keep up with. Keep the most used groupings at eye level, place slower moving sizes lower down, and separate open stock from sealed cartons. In a Cape Town studio with a small back room, that kind of layout matters because one crowded shelf can turn into wasted time very quickly.
- Linework cartridges in one section
- Shader cartridges in another
- Mag groupings kept apart by size and taper
- Open boxes stored separately from sealed packs
Match cartridge size to the kind of session
Cartridge size sorting works best when it follows the kind of session the artist is preparing for. Fine detail work usually calls for smaller groupings, while broader fill work calls for larger groupings that cover more area in fewer passes. For walk-in appointments, flash pieces and larger custom work, the right size choices should be visible at a glance.
It helps to tag shelf sections by session purpose rather than by loose memory. A simple label such as detail, colour fill, soft shading or heavy linework can guide the team when the studio is busy. That is especially useful in Johannesburg studios that move through several appointments in a day and need stock to be set out quickly.
- Detail sessions: smaller cartridge groupings
- Soft shading: medium groupings with smoother flow
- Colour fill: larger groupings for broader coverage
- Heavy lining: dedicated linework stock only
Use clear labels that survive a busy week
Labels should stay readable after handling, dust and the usual movement around a working station. Write the cartridge grouping, size and any storage note on the outer box or tray card. If two sizes are close enough to be confused in low light, separate them physically as well as by label. That small habit cuts down on mistakes when stock is being pulled near closing time or during a full booking list.
Many studios also add a second note for session purpose. For example, a tray might be marked for fine line, grey shading or colour packing. This makes it easier for the person setting up the station and for the person restocking later. It also helps when multiple artists share the same storage area and need the same items organised in the same way.
- Use size, grouping and purpose on every label
- Keep one naming system across the whole studio
- Replace faded stickers before they become a problem
- Store labels where moisture and handling will not damage them
Store cartridges where the station stays clean and orderly
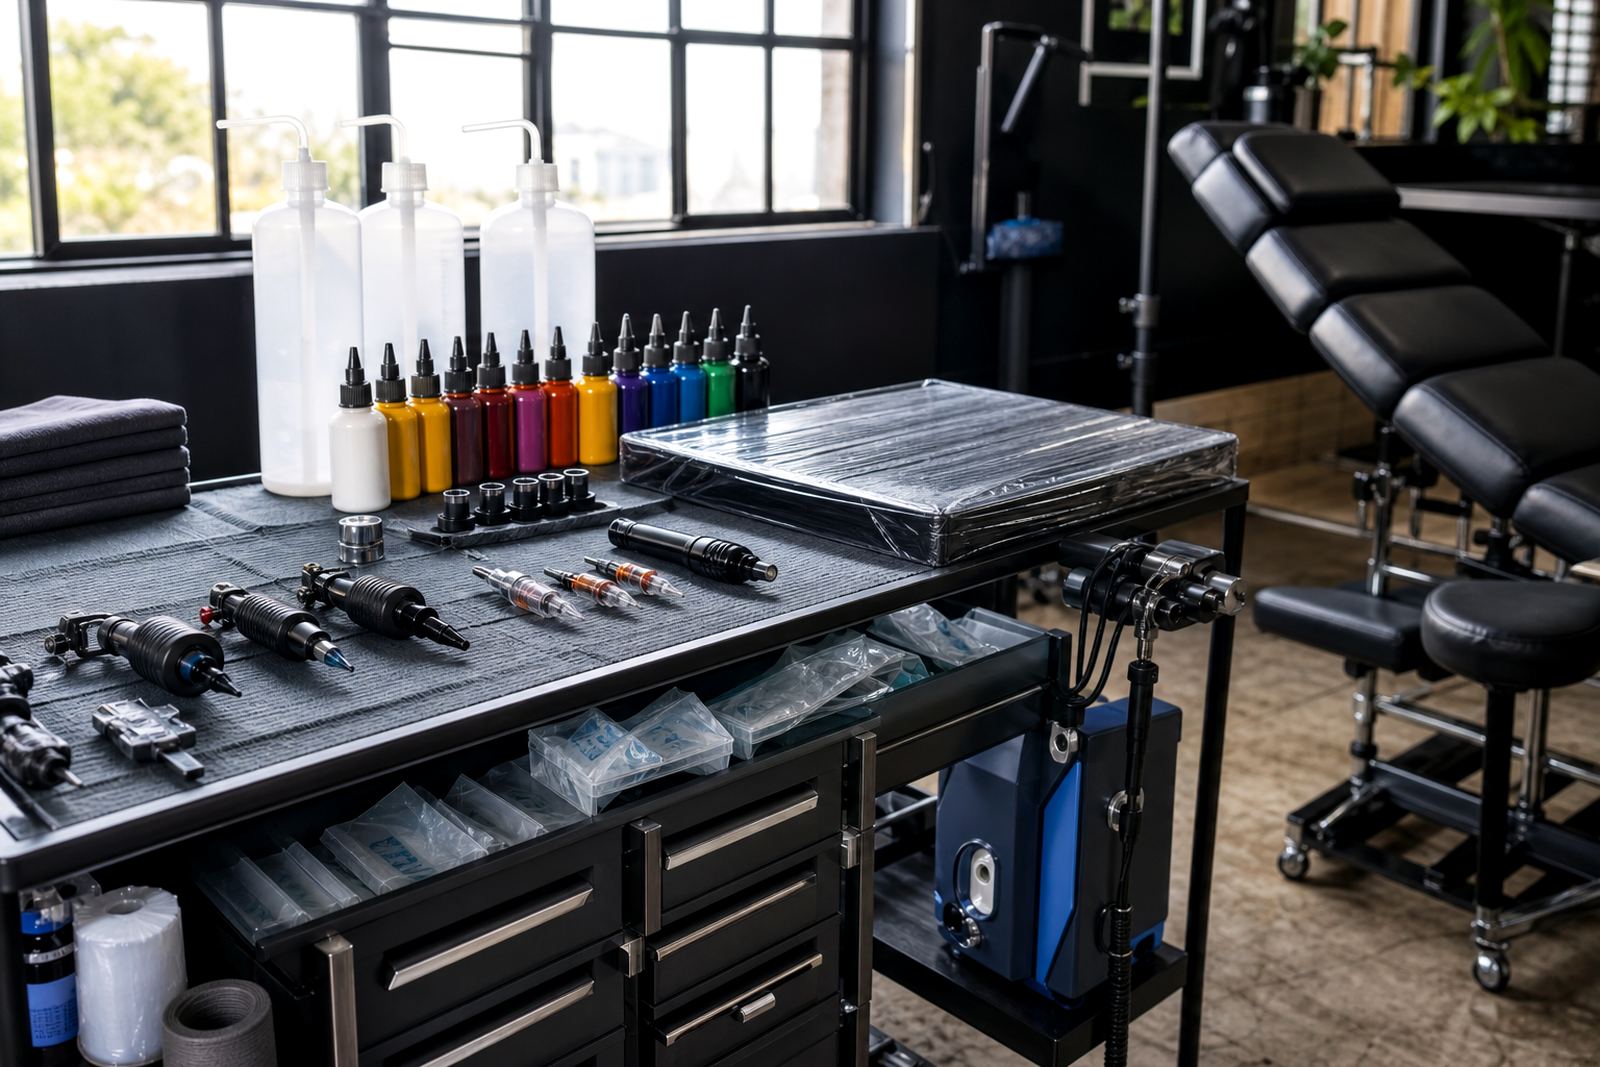
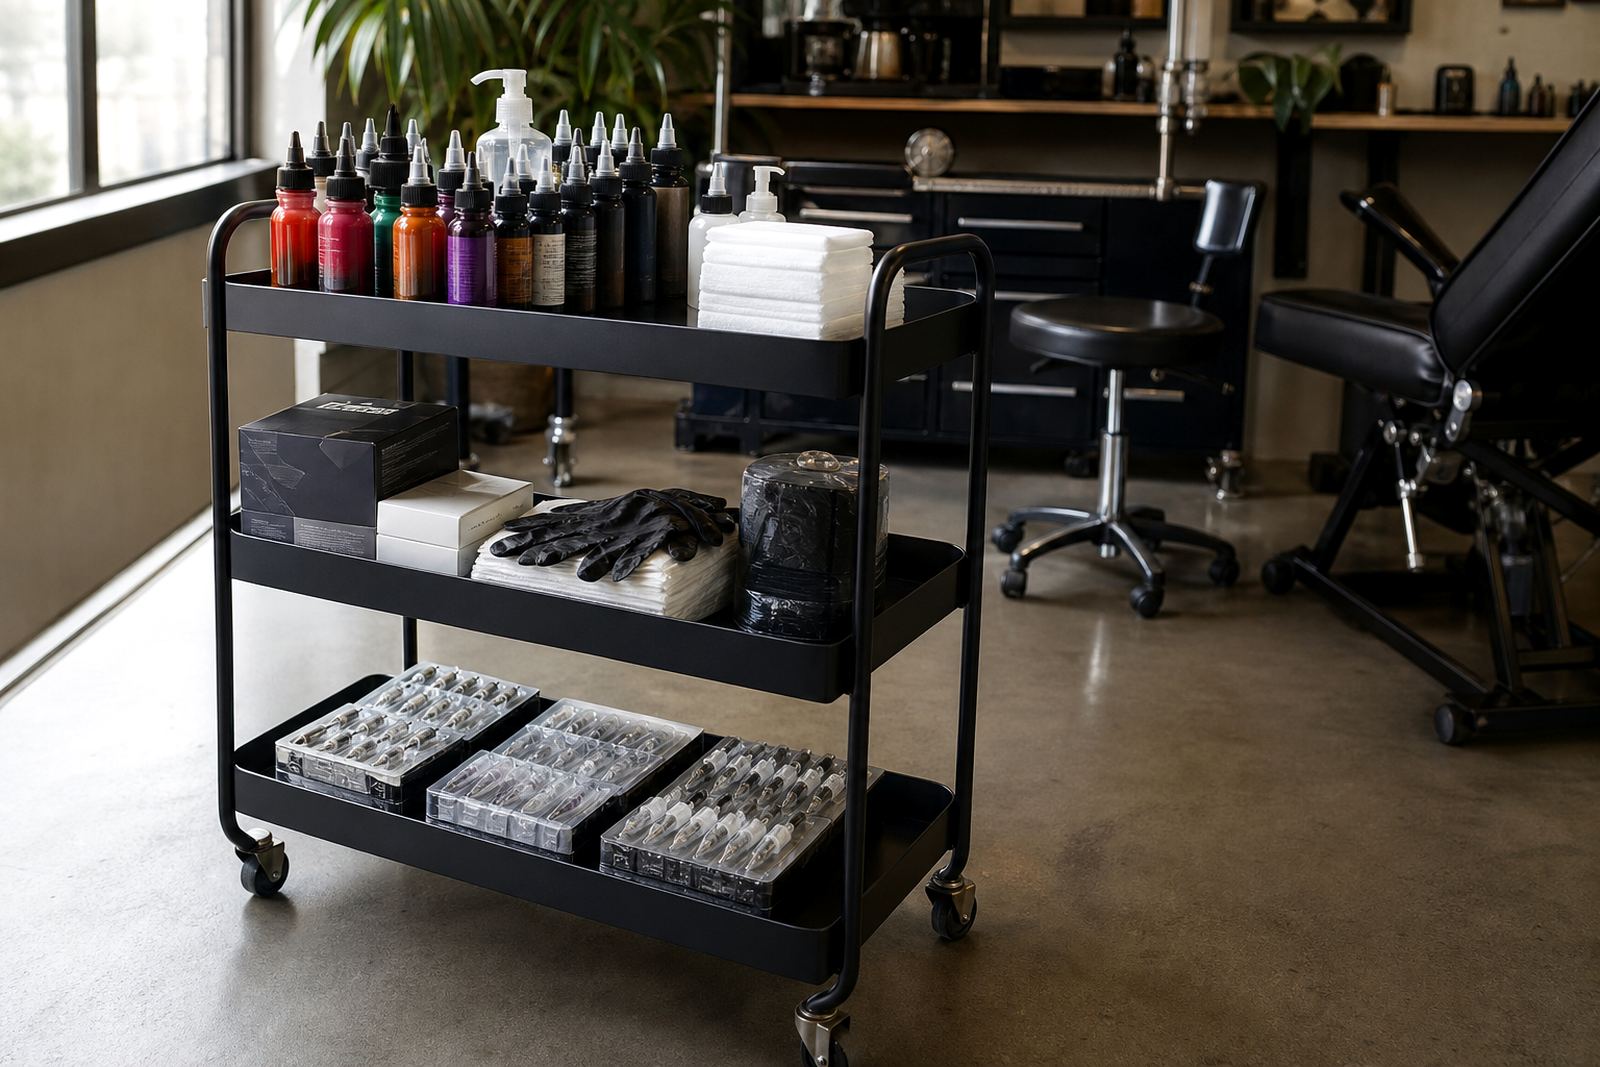
Storage affects cartridge sorting more than many people think. If cartons are stacked loosely or mixed with loose consumables, the size system breaks down fast. Keep cartridges in closed containers or organised drawers and separate them from items used for wrapping, wiping and station prep. A tidy storage method also makes it easier to count stock at the end of the week.
In coastal areas such as Cape Town and Gqeberha, humidity can make packaging look tired quicker than expected, so dry storage and closed shelving are worth the effort. In a studio with lots of movement between front counter and work area, a fixed place for every grouping saves time and limits clutter. Follow local health regulations and your studio’s own hygiene procedures when handling, storing and opening single-use supplies.
- Keep cartridges in closed, dry storage
- Separate stock by size and purpose before it reaches the station
- Do not mix open cartons with sealed cartons
- Review shelf order after stock movement or a large delivery
A simple count system for reorders and packing
Once cartridge sizes are sorted properly, reordering becomes much easier. Instead of counting one large pile, count by grouping and note which sizes move fastest. That helps the studio keep enough stock of the common sizes without overbuying the slower ones. It also makes bulk orders simpler when a shop in Pretoria or Durban is preparing for a busy month of appointments.
A clean count sheet usually includes the grouping, the size and the number on hand. Some studios also add a note for which artists use each size most often. That is useful when packing kits for shared stations or when preparing supplies for a new room. For stock planning, a clear count is better than a memory check after a long day.
- Count each cartridge size separately
- Track fast moving sizes first
- Keep reorder notes beside the count sheet
- Use the same format for every branch or studio room
Local example from a Cape Town studio shelf
Picture a small Observatory studio with two artists sharing one storage cabinet. One artist needs fine line cartridges for lettering and crisp outlines, while the other is preparing for soft shading and larger fills. If the cartridges sit in one mixed tray, every setup takes longer and stock gets misread. If they are sorted by grouping and then by size, each artist can pull the right pack without slowing the room down.
That same method works whether the studio is sending supplies to Bellville, Somerset West or across to Johannesburg. The system does not need to be fancy, only consistent. A good sorting layout helps the team keep the station clean, manage consumables and spot low stock before it becomes a problem.
For studios that need help with cartridge match help, range grouping advice, stock list help or seasonal restock plans, a clear sorting method gives the whole order process better shape. It is much easier to place the right items when the shelves are already arranged in a sensible way.