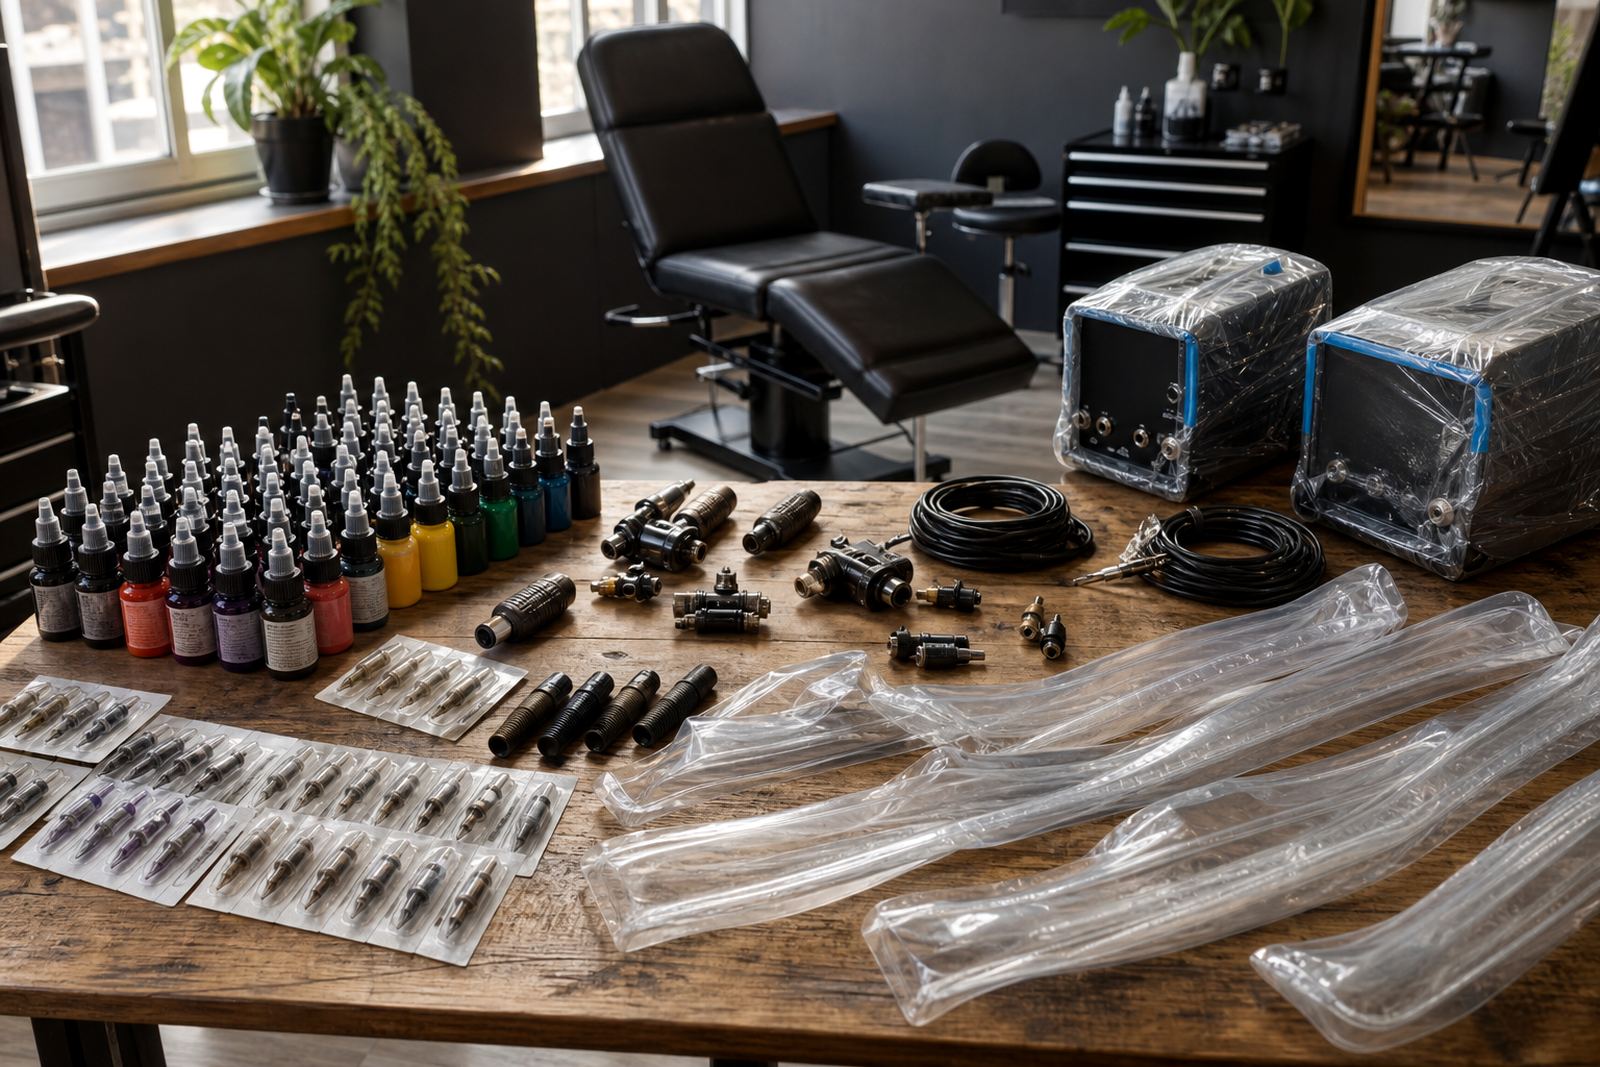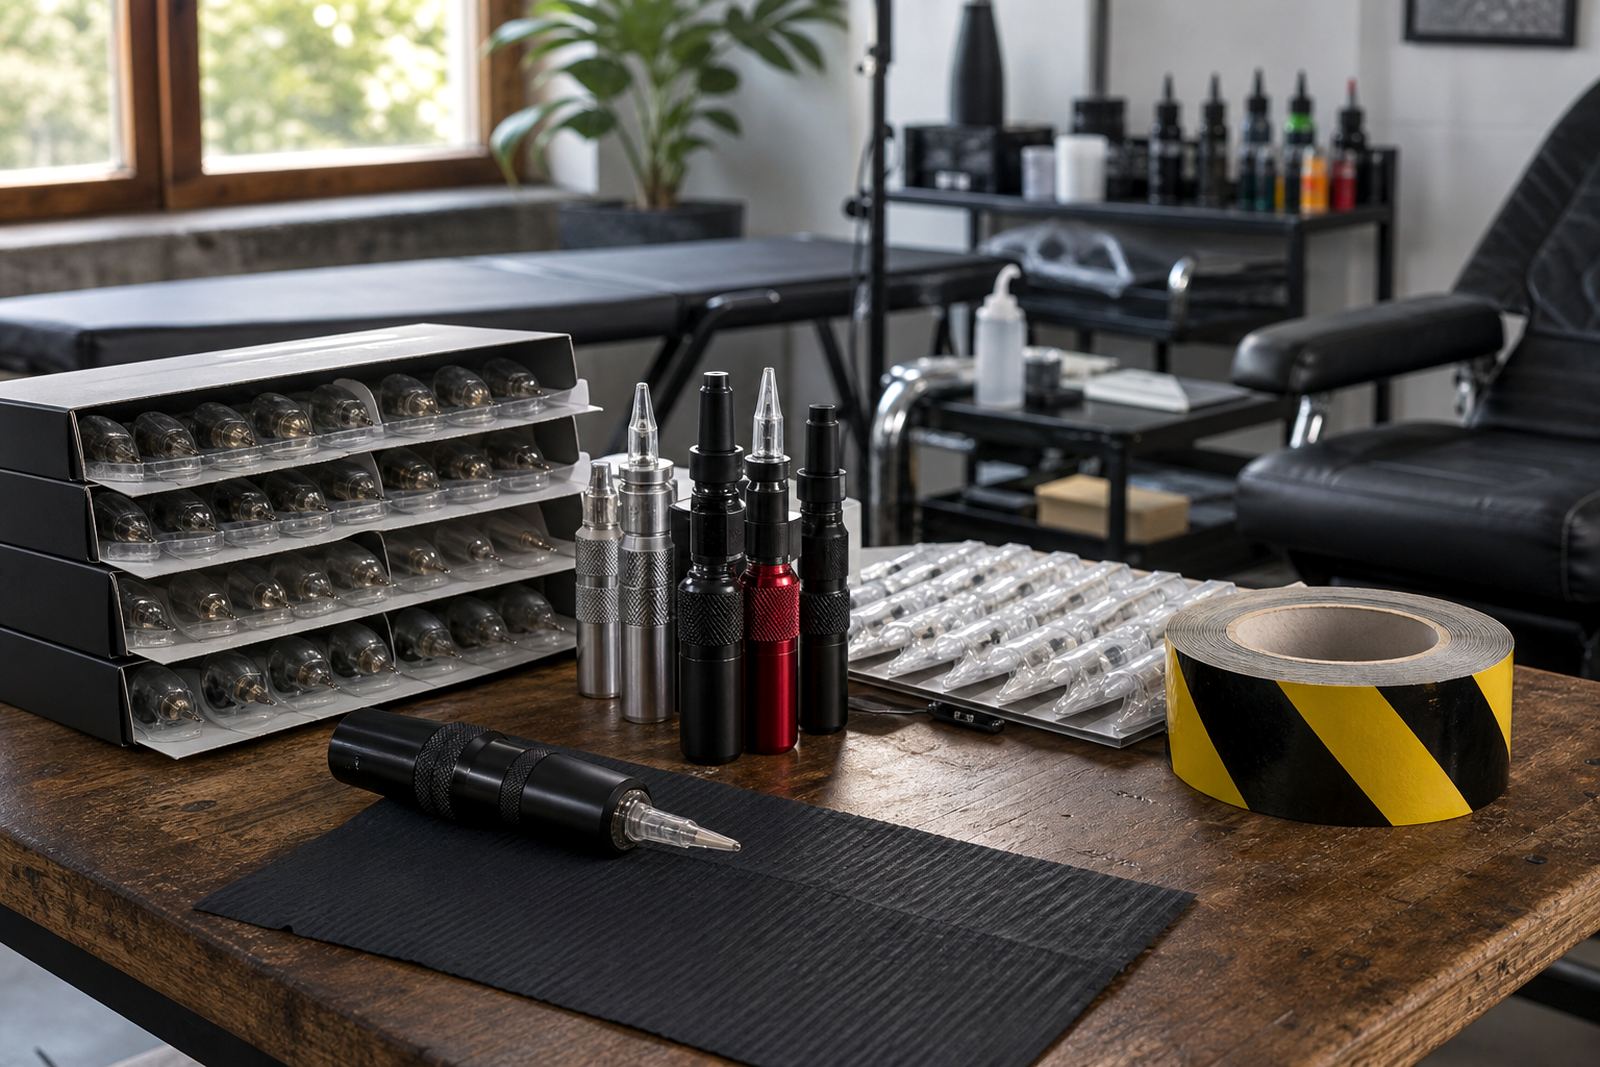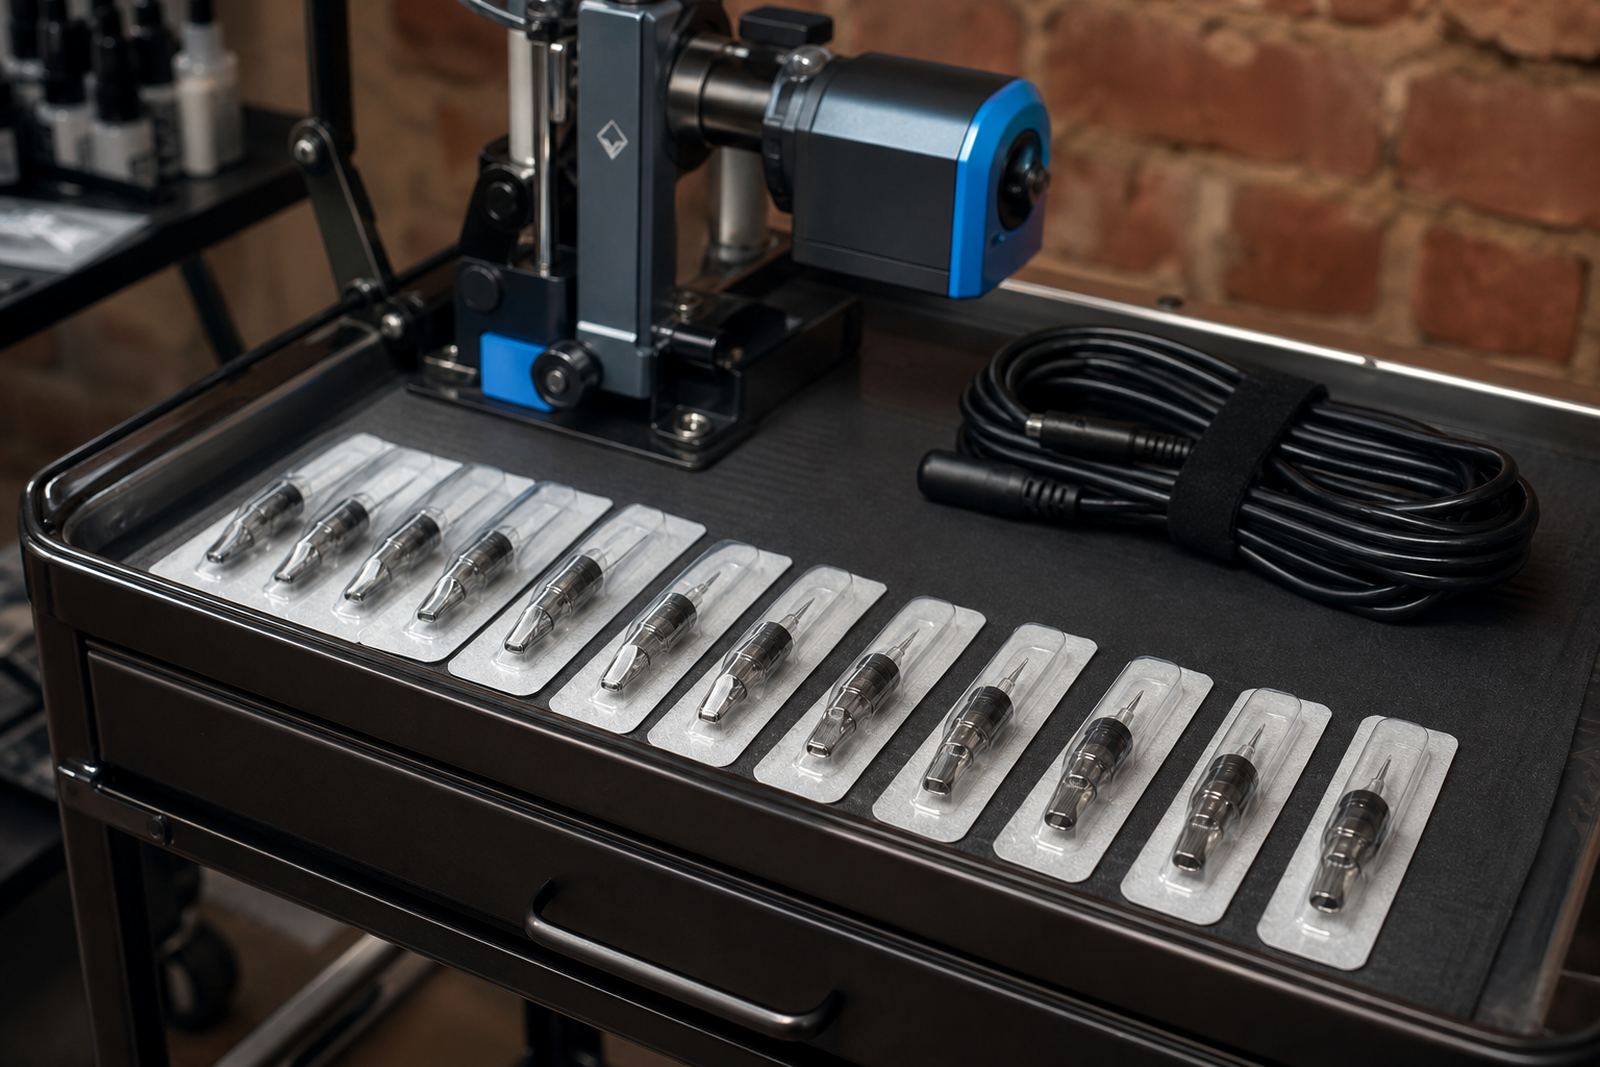

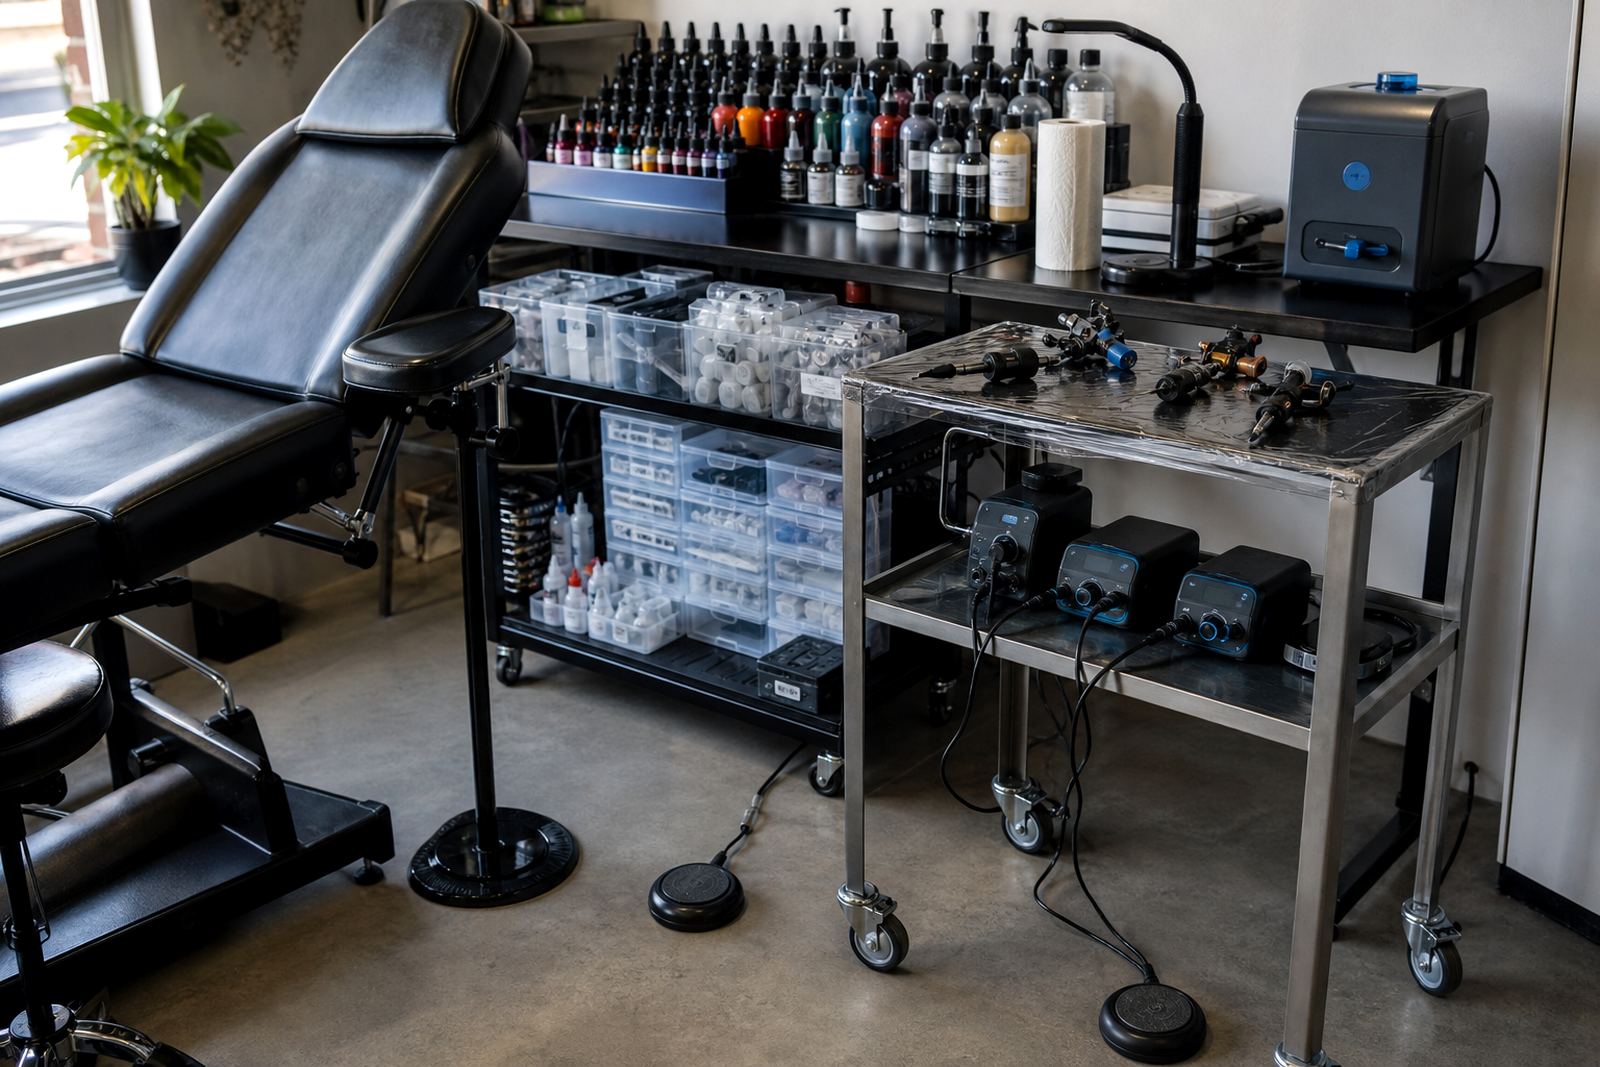
Control That Belongs at the Centre of the Station
A tattoo power supply is the control point for the machine setup. It takes mains input and gives the artist a regulated output that can be adjusted to suit lining, shading and colour packing work. In a busy studio, that control matters because different machines and hand styles call for different voltage ranges, and the station needs to stay neat while you work.
Most studio units are paired with a foot pedal, clip cord or RCA cable depending on the machine and connection type. Some setups use a single output for one machine, while others are built with dual outputs so the artist can keep two machines ready on the table. In coastal areas like Cape Town and Gqeberha, it also helps to keep cables off damp counters and store the unit in a dry spot after the day’s work.
Common Sizes And Output Styles
Power supplies for tattoo work are usually compact enough for a station shelf, tray or clamp-mounted position, with a clear display and easy voltage adjustment. The most common options are digital units with a screen, simple dial units and models with memory settings for repeat use.
- Input: 100 V to 240 V AC on many universal units
- Output range: commonly 0 V to 18 V or 0 V to 20 V
- Display: digital readout or analogue dial
- Connections: clip cord, RCA or dual output depending on the unit
- Form factor: compact tabletop, clamp mount or foot-pedal style control unit
- Extras: memory presets, standby mode or switchable input options on selected models
For artists who move between machines during a session, the display should be clear at a glance. A steady output with fine adjustment is useful when a hand changes pressure or the machine needs a slight lift in voltage for a different coil setup.
Where These Units Fit Best
These units suit professional studios, apprentice stations, guest setups and mobile work tables where control and cable order matter. They are used for liner machines, shader machines and rotary machines, as long as the connector type matches the machine lead. In larger studios, a power supply with two outputs can help reduce swapping and keep the station moving in a clean sequence.
For shops in Johannesburg, Pretoria and Durban, the practical value is often in keeping the station calm and organised even when the day is full. A mounted or weighted unit stays in place better than a loose box on a crowded table, and a clear front panel makes it easier to adjust settings without stopping the hand position for too long.
- Single-artist workstations
- Shared studio benches
- Guest spots and convention tables
- Mobile stations with compact carrying needs
- Studio setups using one or two machines on rotation
Fitting And Station Setup Notes
Most power supplies are fitted by placing the unit where the artist can see the display and reach the controls without crossing the working area. The machine lead, footswitch and mains cable should be routed so they do not snag on trays, clip cord holders or arm rests. If the unit is wall mounted or clamp mounted, the bracket should suit the bench thickness and hold the unit steady under normal use.
When setting up, confirm the connector type before the first session. Some machines use RCA leads while others run through clip cords, and the power supply must match the connection path used in the studio. A clean cable layout also helps during station changes and end-of-day pack down, especially where multiple artists share one room.
- Check the machine connection type before fitting
- Match the footswitch plug to the control socket
- Keep the mains lead away from wet cleaning areas
- Place the unit where the display is easy to read from the chair
- Use the supplied cable path or bracket where included
Care, Storage And Studio Hygiene
Power supplies work best when kept free of dust, stencil residue and liquid splashes. Wipe the outer casing with a dry or lightly damp cloth, then dry it fully before storage. The screen and adjustment points should be kept clean so the display stays readable and the controls move properly. If the unit has vents, do not block them with cloth, rags or packed cables.
At the end of the shift, switch off the unit at the mains, coil the leads without tight bends and store the power supply in a dry cupboard or shelf. In coastal studios where humidity is part of daily life, a covered storage spot is worth the effort. Follow local health regulations for studio handling, surface care and waste control, and keep the equipment area tidy so cords, sleeves and consumables are not mixing together.
Details To Confirm Before You Order
Ordering the right unit starts with the machine setup already in use at the studio. The power supply must suit the way the artist works, the connector style on the machine and the space available on the station. It also helps to know whether the studio wants a simple single-output unit or a model with more control options for a shared workspace.
Confirm these points before choosing:
- Machine type: rotary, coil or mixed studio use
- Connector style: RCA or clip cord
- Input voltage: universal or region-specific mains compatibility
- Output range: the voltage span needed for the work style
- Display style: digital screen or dial
- Mounting: tabletop, clamp or fixed position
- Extra functions: memory settings, dual output or standby control
For studios in Cape Town, Stellenbosch, Bellville and Somerset West, it can also help to plan for the layout of the whole station rather than the unit on its own. A power supply that suits the machine, the cable lengths and the bench space makes the working area easier to manage day after day.
Key facts
| Product type | Tattoo machine power supply |
|---|---|
| Input | Commonly 100 V to 240 V AC on universal models |
| Output | Commonly adjustable from 0 V to 18 V or 0 V to 20 V |
| Connection options | RCA, clip cord or dual output depending on model |
| Display | Digital readout or analogue dial |
| Use | Machine control, steady output and organised workstation wiring |